Start / Create WVD Workspace, Hostpool and VMs in the Azure Portal
Create WVD Workspace, Hostpool and VMs in the Azure Portal
In this step, we will create a WVD Workspace, Hostpool & VMs within our Windows Virtual Desktop subscription for Pooled usage. The task include:
- Create a WVD Workspace
- Create a WVD Hostpool
- Create VMs in the Azure subscription.
- Join the VMs to the Active Directory domain.
- Register the VMs with the Windows Virtual Desktop service.
We will perform these tasks in the Azure Portal by using the Custom image we created in the previous step.
Find the Windows Virtual Desktop Service
First, we will look for the new Azure Portal integrated Windows Virtual Desktop service, which is part of the Windows Virtual Desktop Spring update.
-
Sign in on the Azure Portal with your credentials.
-
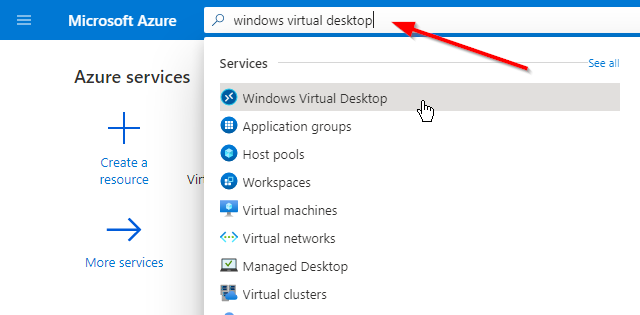
Search for Windows Virtual Desktop
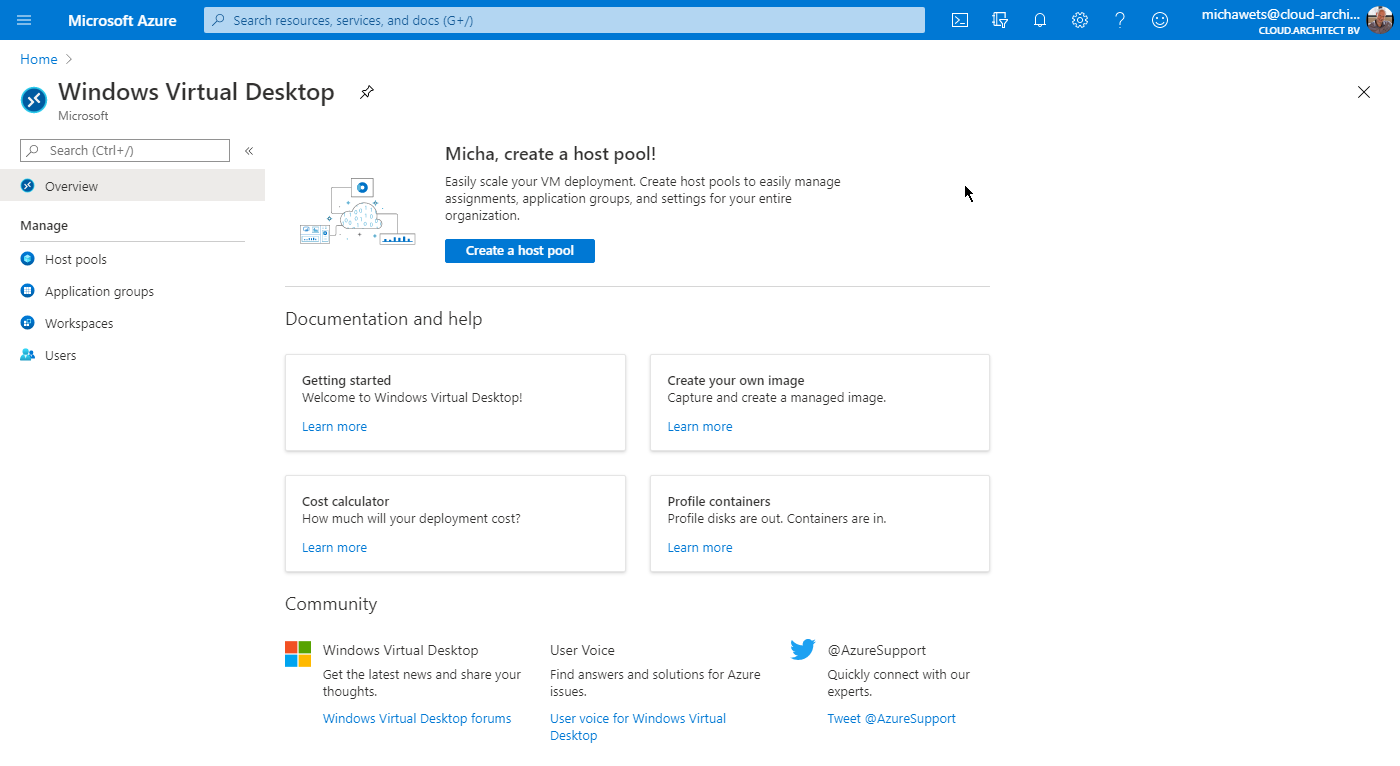
This is the overview you get in the Windows Virtual Desktop pane
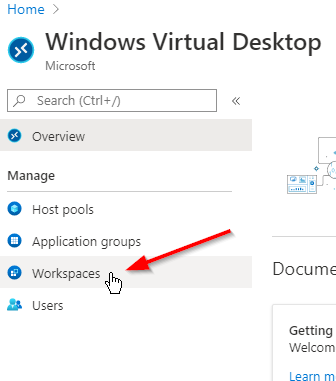
Create a WVD Workspace
-
Click on Workspaces
-
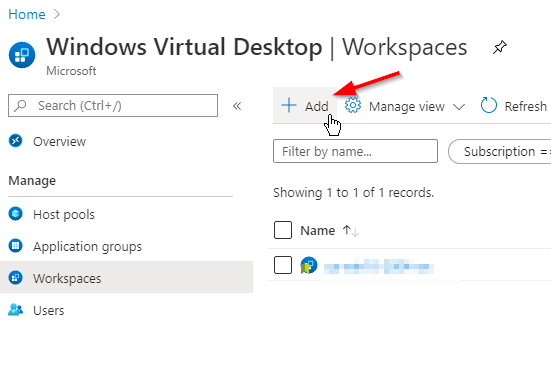
Click on Add
-
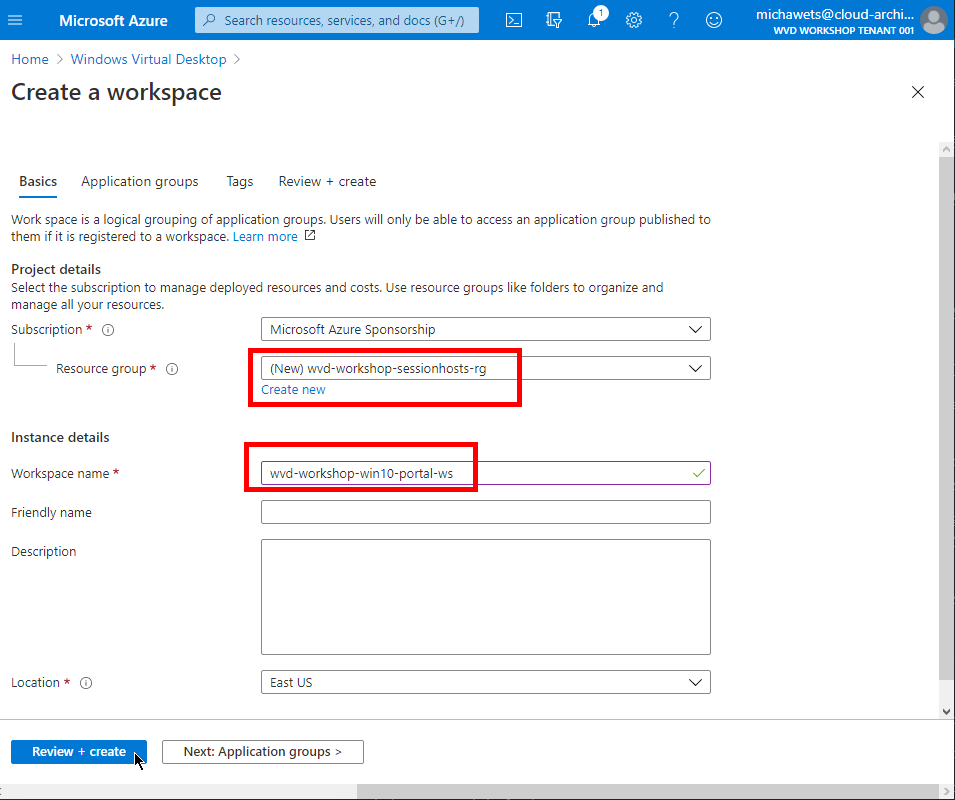
Select the wvd-workshop-sessionhosts-rg Resource Group (if it does not exist, create a new Resource Group and name it wvd-workshop-sessionhosts-rg)
Fill in wvd-workshop-win10-portal-ws as Workspace Name
Optionally fill in the other basic settings and click on Next: Application groups >
Note
At this time, only US locations are available for the WVD ARM resources (Workspace, Hostpool, ApplicationGroup)
-
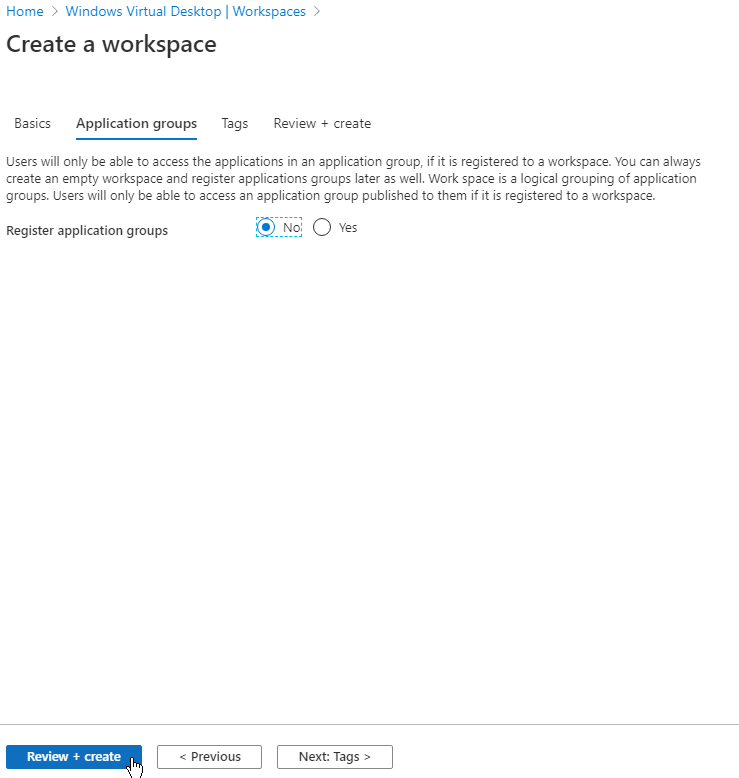
At this time, we do not have any Application Groups, so we do not register any Application Groups yet.
-
Finish the wizard and click on Create
Create a WVD Hostpool with VMs for Pooled usage
-
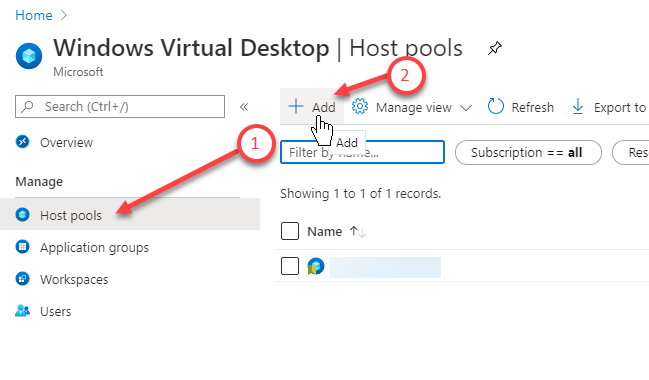
Click on Host Pools, and click on Add
-
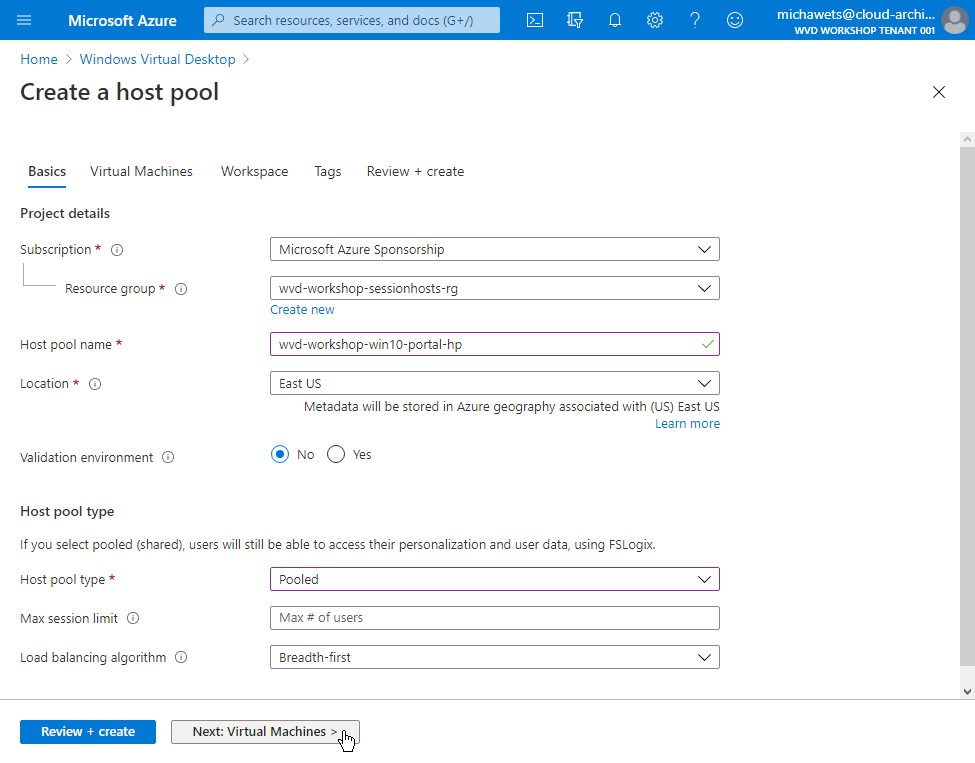
Select the wvd-workshop-sessionhosts-rg Resource Group
Fill in wvd-workshop-win10-portal-hp as the Hostpool Name
Fill in the other basic settings and click on Next: Virtual Machines >
Note
At this time, only US locations are available for the WVD ARM resources (Workspace, Hostpool, ApplicationGroup)
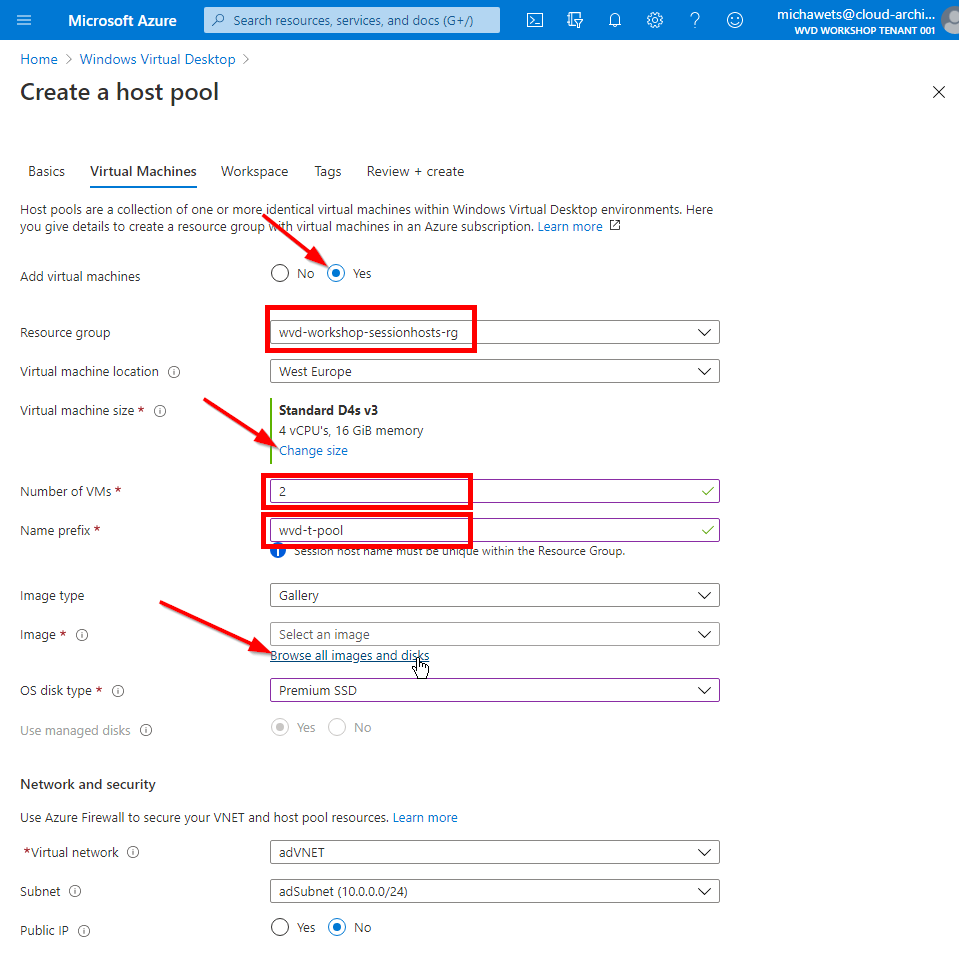
- Select Yes at the option Add virtual machines
Select the wvd-workshop-sessionhosts-rg resource group
Select West Europe as the Virtual Machine location
Select D4s v3 as Virtual Machine size
Enter 2 as Number of VMs
Enter wvd-t-pool as the Name Prefix (The virtual machines will be called “wvd-t-pool-0,” “wvd-t-pool-1,” and so on)
IMPORTANT
Think about the 15 char limit of NetBIOS
At the Image section, click on Browse all images and disks
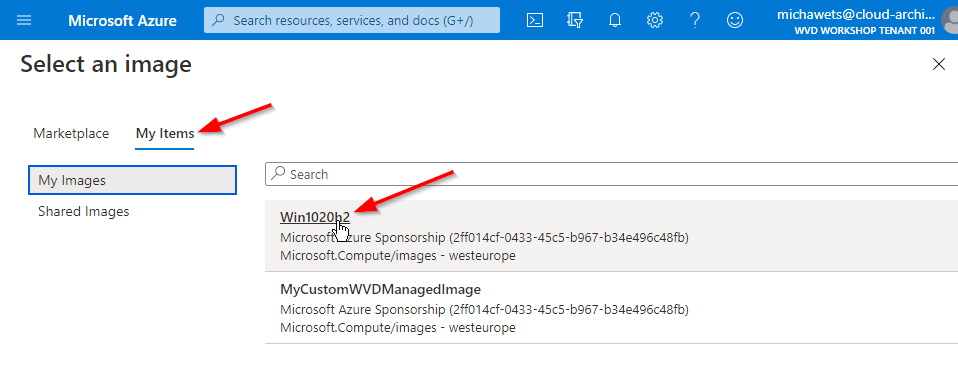
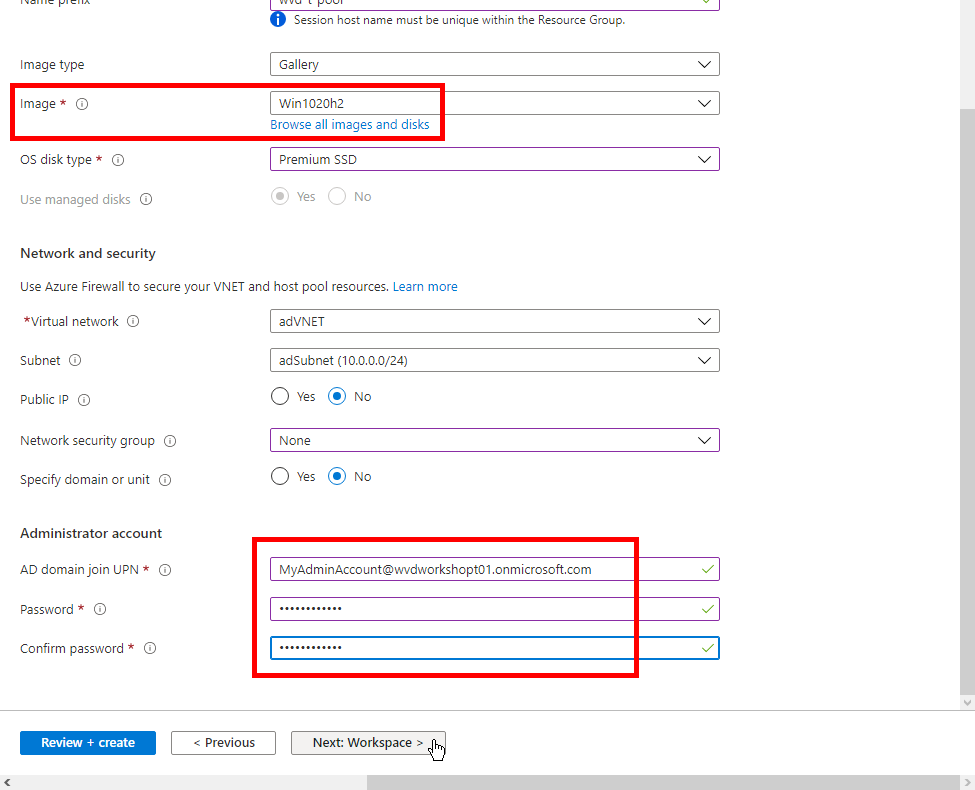
- Click on My items and select the Custom Image you have build: Win1020h2
- At the Network and security section, select the adVNET and adSubnet
At the Administrator account section, enter your local admin account. In my example, this is MyAdminAccount@wvdworkshopt01.onmicrosoft.com and the credentials.
Click on Next: Workspace >
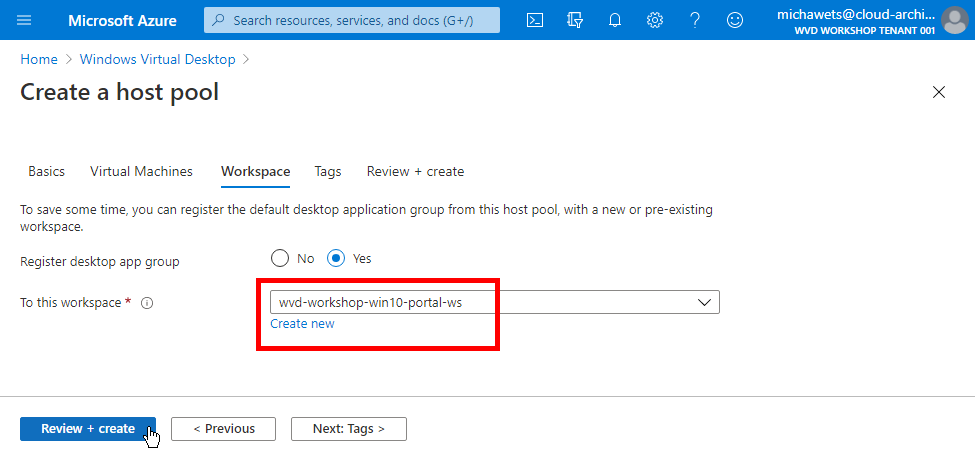
-
Select Yes at the option Register desktop app group
Select the Workspace you created in the previous part: wvd-workshop-win10-portal-ws
Click on Review + create
-
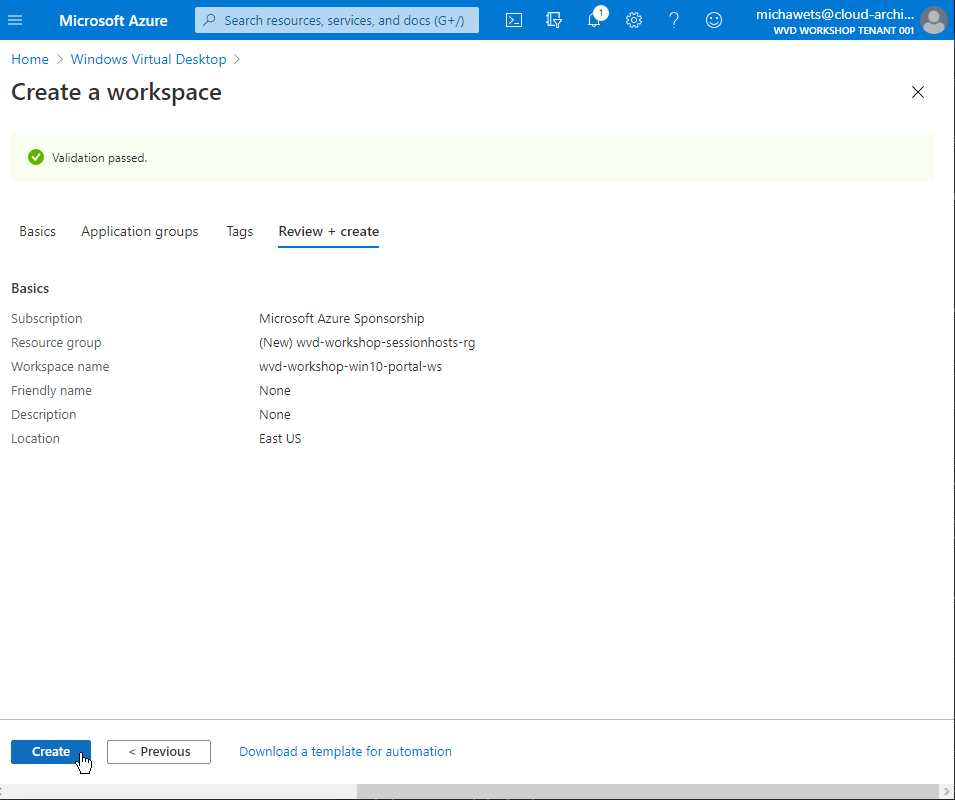
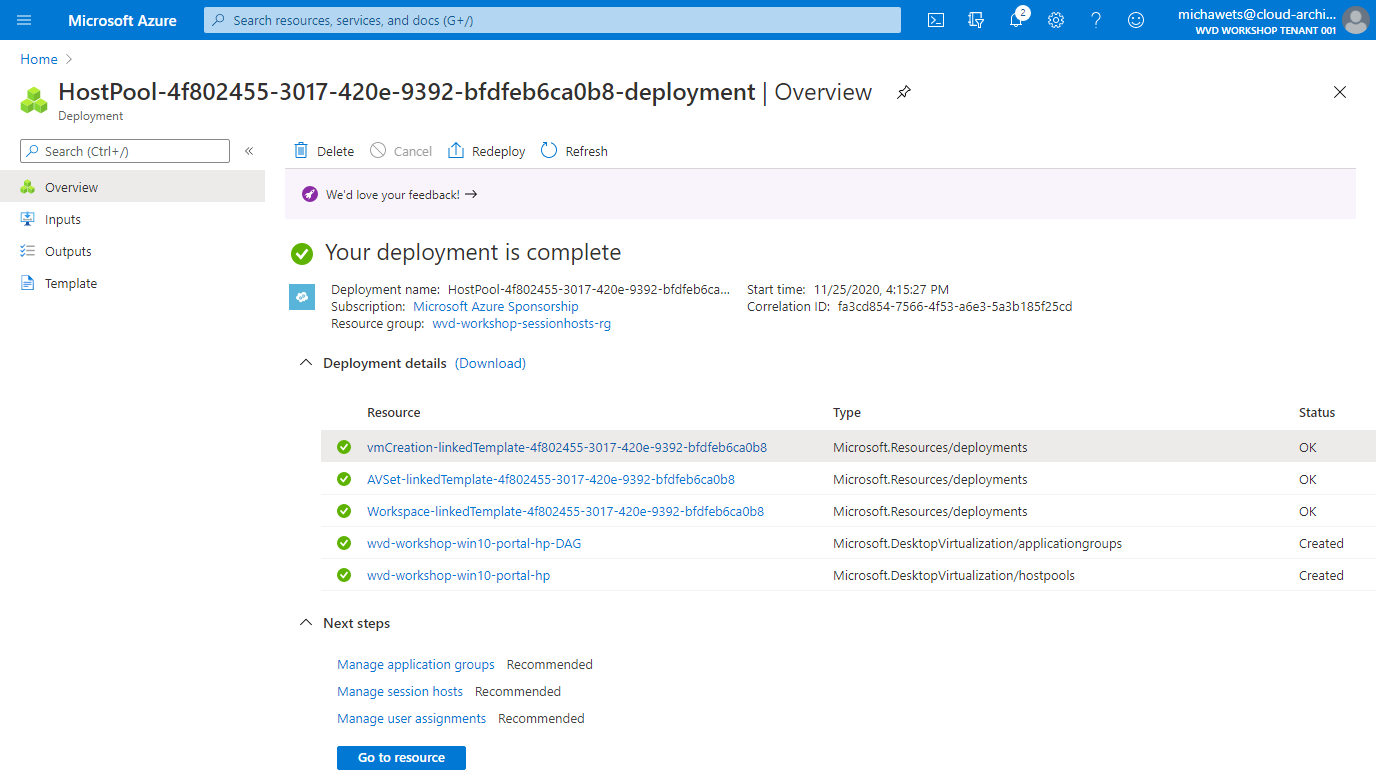
Review the overview and click on Create

Depending on how many VMs you’re creating, this process can take 25 minutes or more to complete.
Assign a DemoUser for testing
-
After the deployment, goto the Application Groups
Click on wvd-workshop-win10-portal-hp-DAG
Click on Assignments
Click on Add
Typ in demouser
Select demouser001 from the list
Click on Select

-
Login with Demouser001 and check if you can see the published Full Desktop.