Start / Create WVD Workspace, Hostpool and VMs from the ARM Template
Create WVD Workspace, Hostpool and VMs from the ARM Template
In this step, we will create a WVD Workspace, Hostpool & VMs within our Windows Virtual Desktop subscription for Pooled usage as we did in the previous step, but this time using the ARM Template. The task include:
- Create a WVD Workspace
- Create a WVD Hostpool
- Create VMs in the Azure subscription.
- Join the VMs to the Active Directory domain.
- Register the VMs with the Windows Virtual Desktop service.
We will perform these tasks by using the Microsoft ARM Template.
Deploy a new WVD Workspace using the ARM Template
-
Sign in on the Azure Portal with your credentials.
-
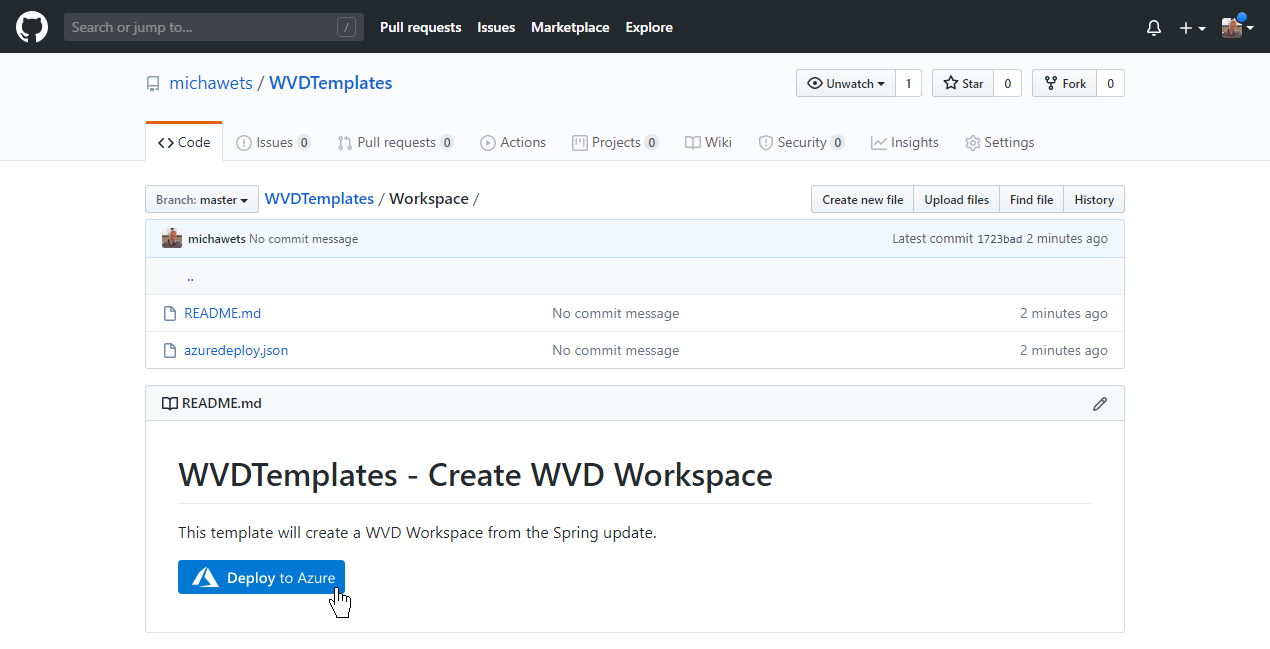
Open a new tab in your browser and goto Micha Wets WVD Spring update Templates - Workspace
-
Click on Deploy to Azure
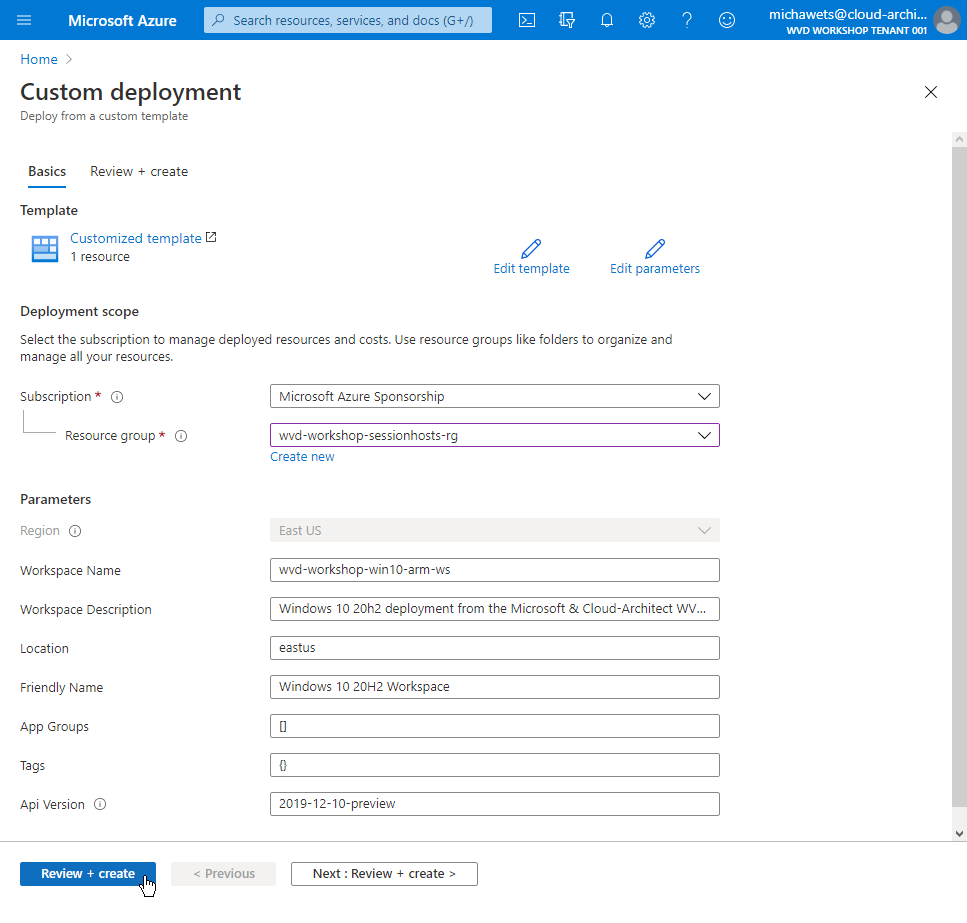
- Complete the wizard:
- Select the correct Subscription
- Select wvd-workshop-sessionhosts-rg as Resource group
Check if all fields are correct. Normally, all default values should be ok, but can be modified.
IMPORTANT
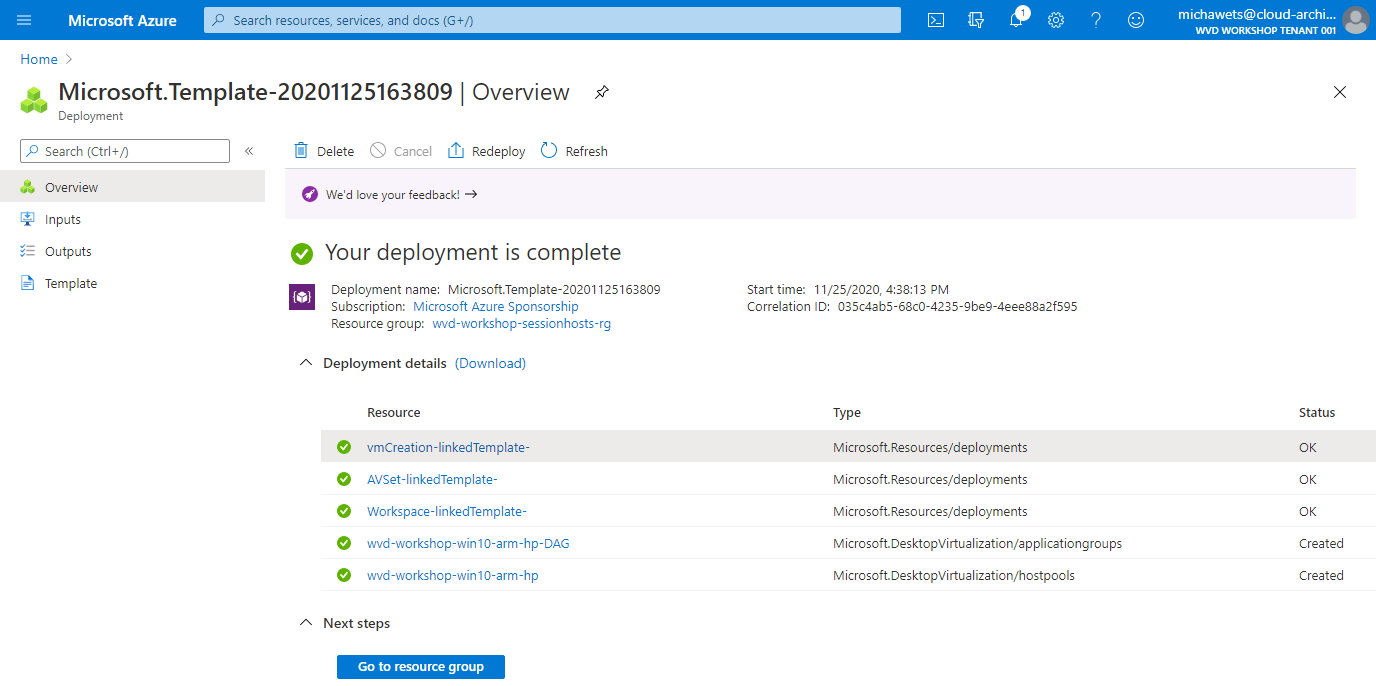
Remember the modified values for the next steps - Click on Review + Create and then on Create
IMPORTANT
Wait until the deployment is finished before continuing
It should only take a few seconds, but it must be complete before going to the next steps
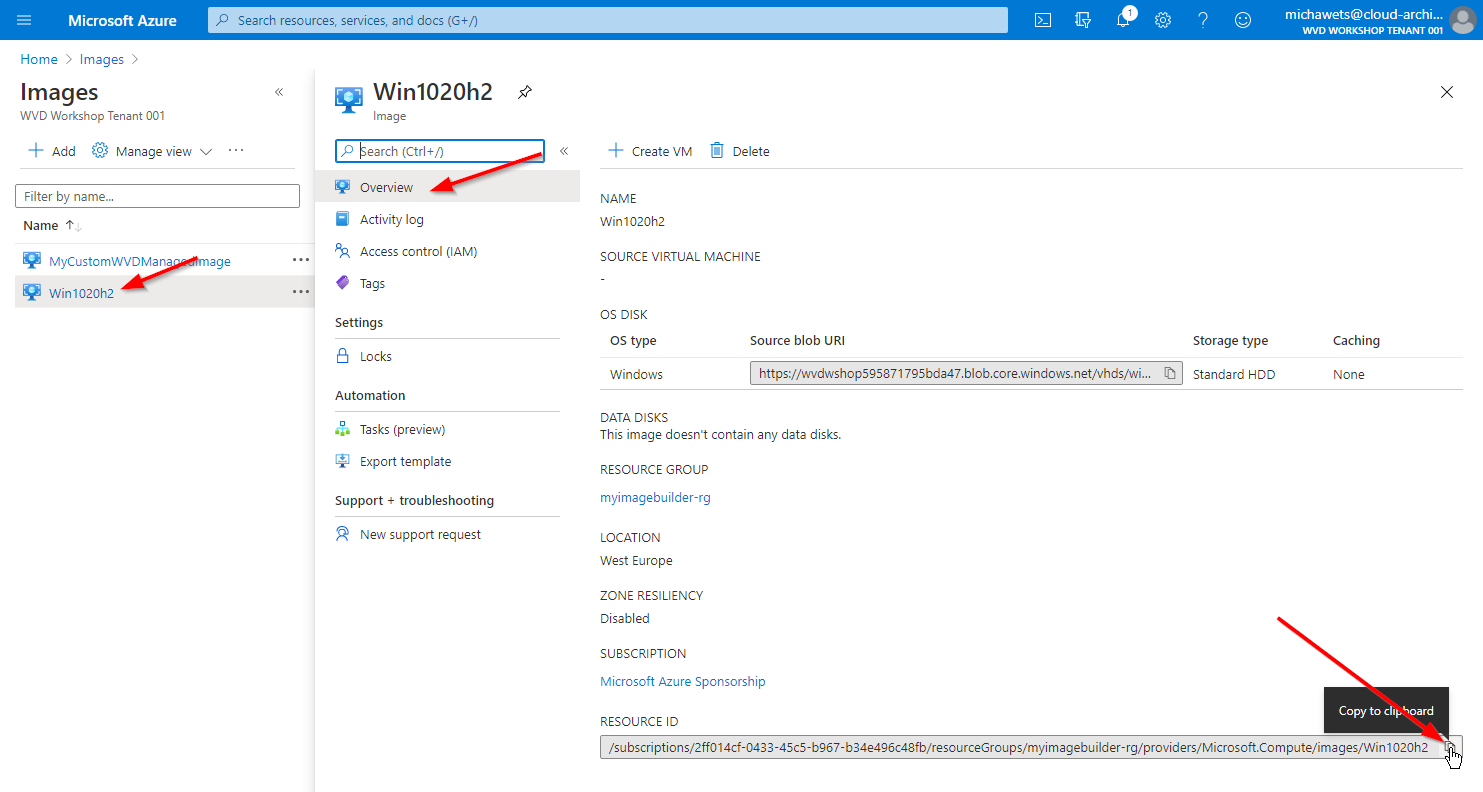
Get the Custom Image resource ID
If we want to use our Custom Image (created in the previous steps), we need to have the Resource ID
-
Sign in on the Azure Portal with your credentials.
-
Search for Images
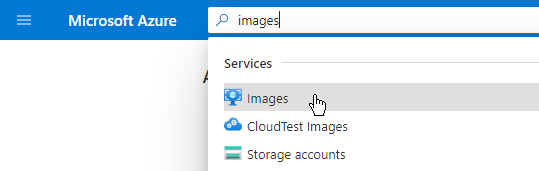
- Select the Win1020h2 image, and copy the Resource ID (paste in Notepad to keep available)
Deploy a new WVD Hostpool with VMs using the ARM Template
-
Sign in on the Azure Portal with your credentials.
-
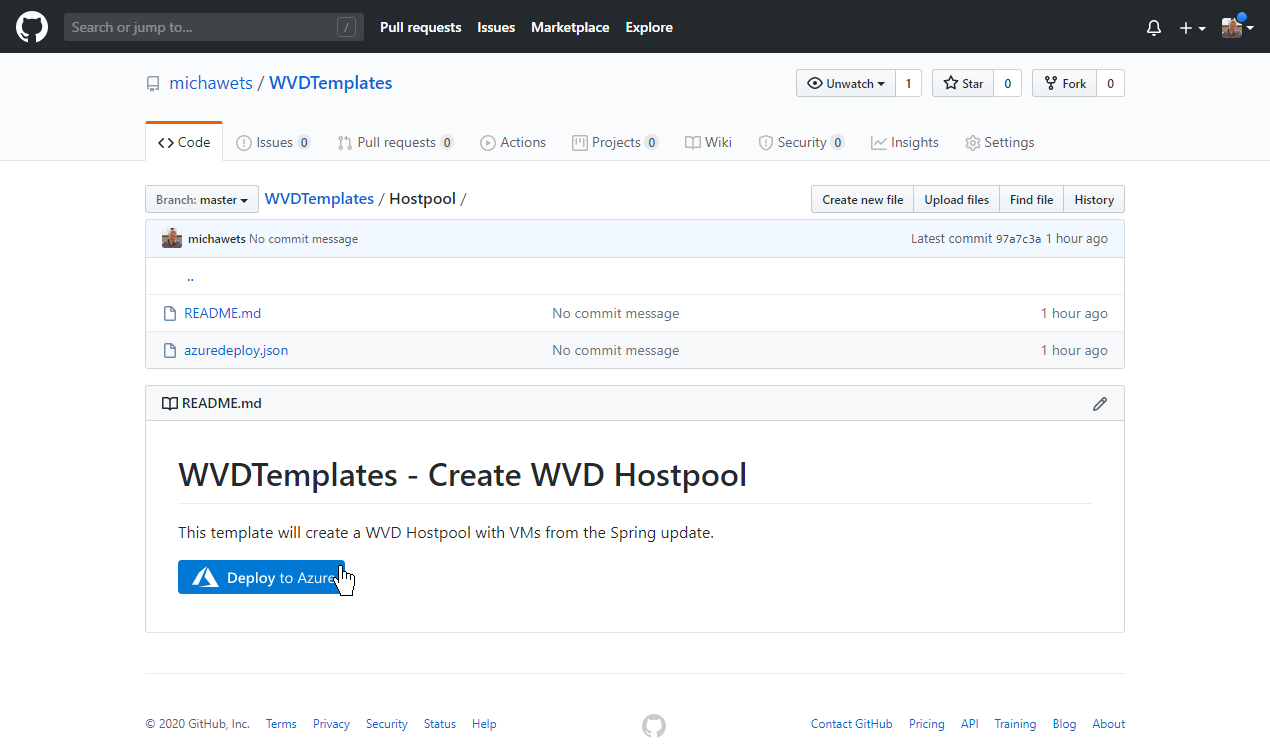
Open a new tab in your browser and goto Micha Wets WVD Spring update Templates - Hostpool
-
Click on Deploy to Azure
- Complete the wizard:
- Select the correct Subscription
- Select wvd-workshop-sessionhosts-rg as Resource group
- Change the Administrator Account Username to your own.
- Change the Administrator Account Password
- Change the vmCustomImageSourceId to the Resource ID from your Custom Image: Win1020h2
IMPORTANT
If you modified the default settings in the previous task (Deploy a new WVD Workspace using the ARM Template), than you have to change all modified values here as well
-
Click on Review + create
-
Click on Create

Depending on how many VMs you’re creating, this process can take 25 minutes or more to complete.