Configure Pooled WVD in the Azure Portal
In this step, we will configure the Portal WVD deployment in the Azure Portal.
In this step, you will learn how to:
- Get information about your WVD Workspace, Hostpools, Application Groups, etc
- Assign users to the RemoteDesktop application group
- Create a new RemoteApp application group
- Publish application(s) to the application group
- Configure Load-balancing mechanisms on the Hostpool
- Configure RDP Settings
Find the Windows Virtual Desktop Service
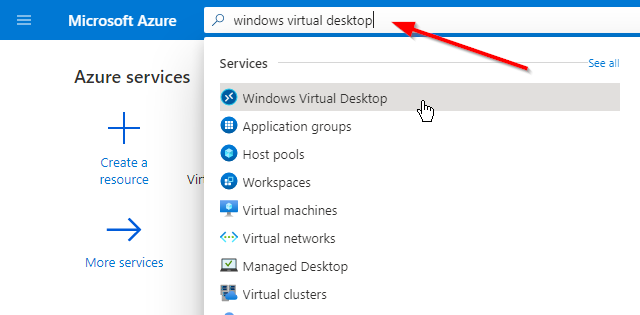
First, we will look for the new Azure Portal integrated Windows Virtual Desktop service
-
Sign in on the Azure Portal with your credentials.
-
Search for Windows Virtual Desktop
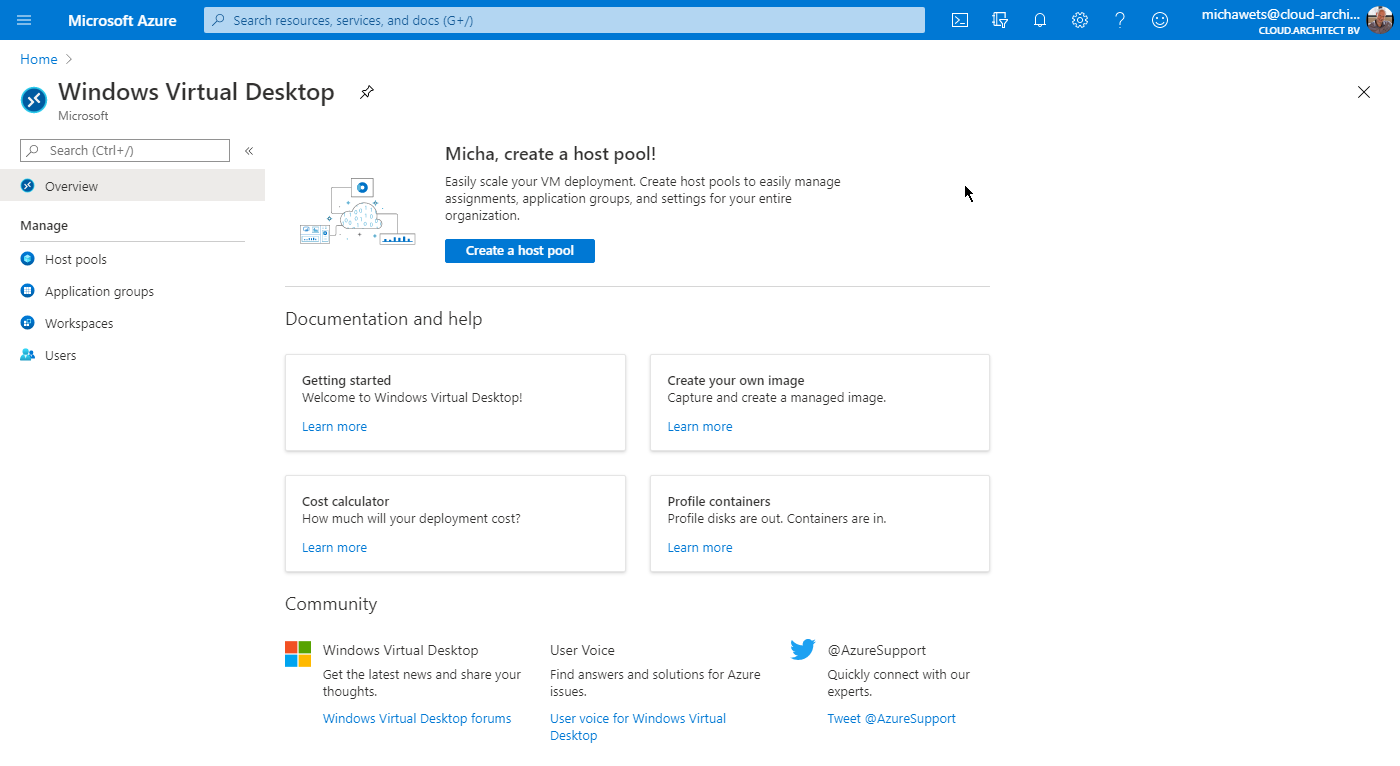
This is the overview you get in the Windows Virtual Desktop pane
Get information about your WVD Hostpool
-
Click on Host pools
-
Click on the wvd-workshop-win10-portal-hp Hostpool
-
In Overview, you get a good summary of your deployed Hostpool
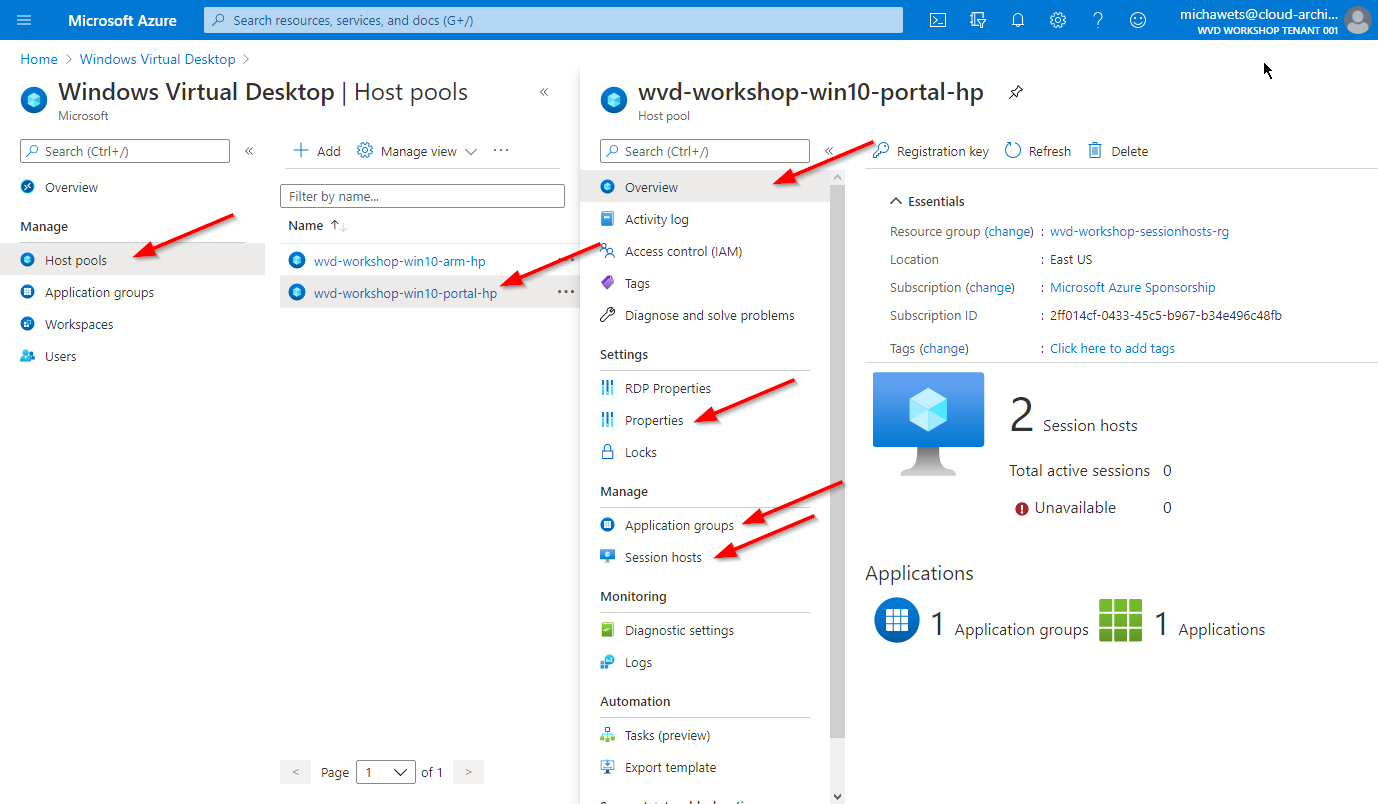
- Click on Properties, Application Groups and Session hosts to get an view on all settings in your Hostpool
Get information about your WVD Workspace
-
Click on Workspaces
-
Click on the wvd-workshop-win10-portal-ws Workspace
-
In Overview, you get a good summary of the deployed Workspace

- Click on Properties and Application Groups to get an view on all settings
Get information about the default WVD Desktop Application Group
-
Click on Application Groups
-
Click on the wvd-workshop-win10-portal-hp-DAG Application group
-
In Overview, you get a good summary of the default Desktop Application Group
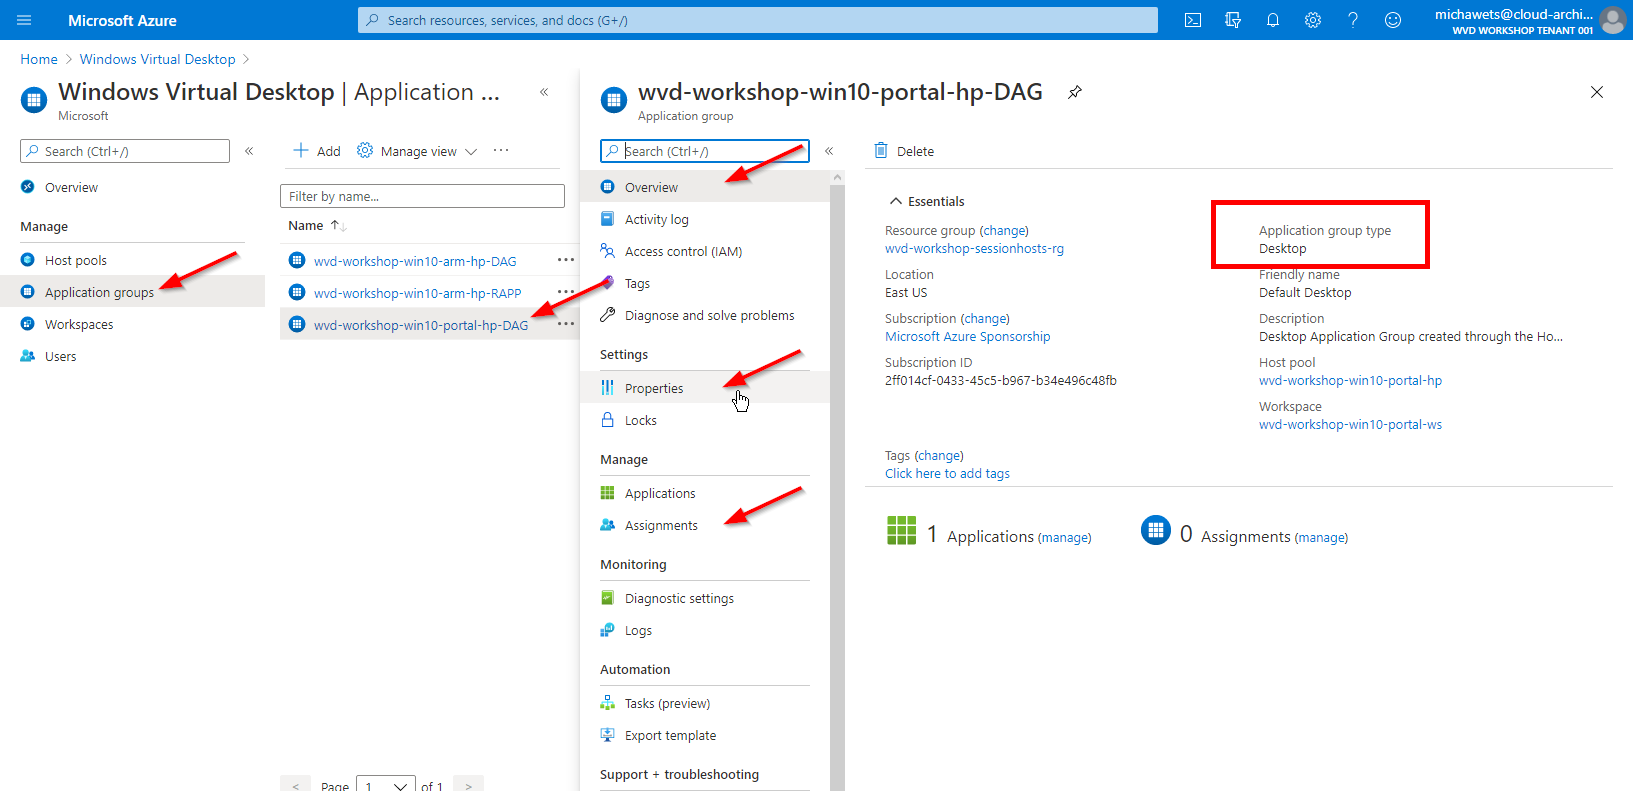
- Click on Properties and Assignments to get an view on all settings
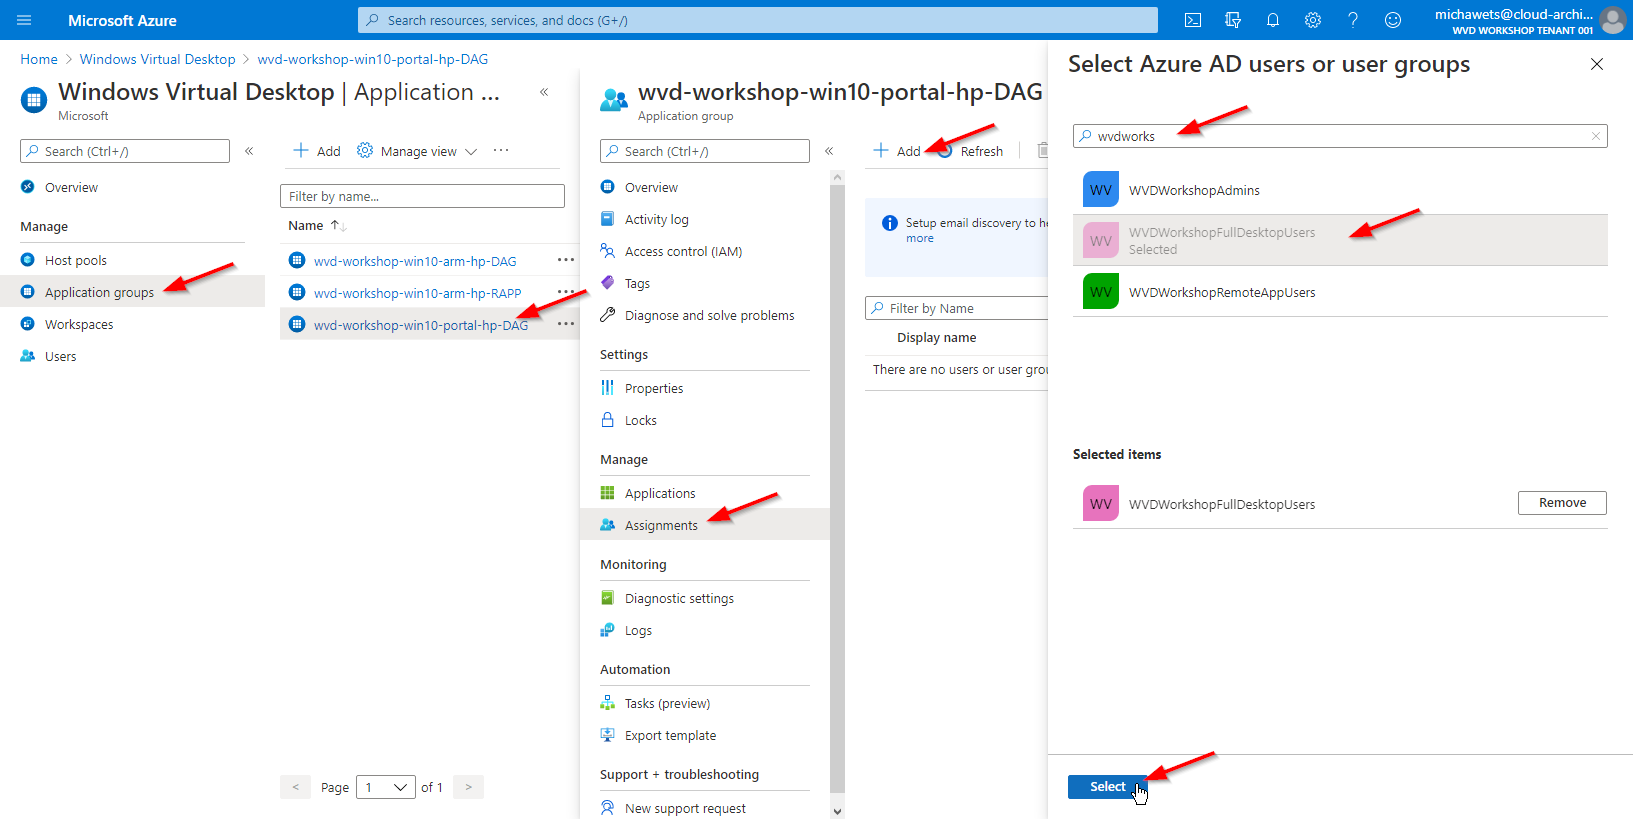
Assign users to the RemoteDesktop application group
- Click on Application Groups
Click on the AppGroup wvd-workshop-win10-portal-hp-DAG
Click on Assignments
Click on Add
Type in WVDWorkshop
Select the WVDWorkshopFullDesktopUsers from the list
Click on Select
- Sign in with demouser001 to see if the user now has a Full Desktop published
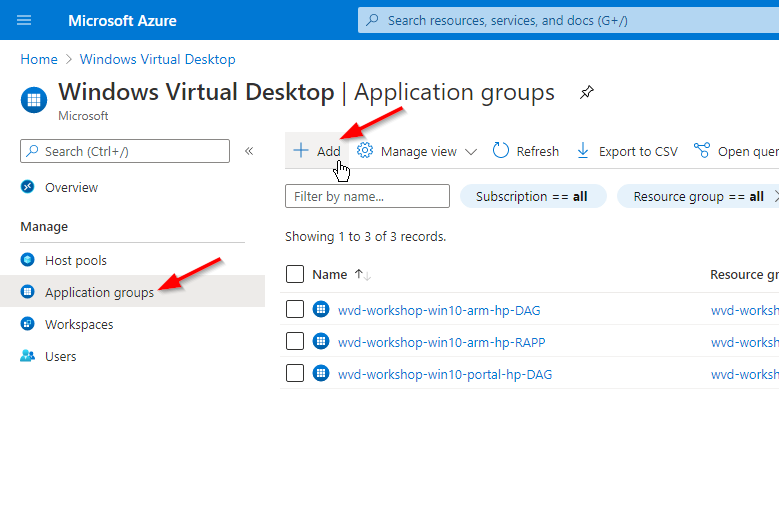
Create a new RemoteApp application group
-
Click on Application Groups
-
Click on Add
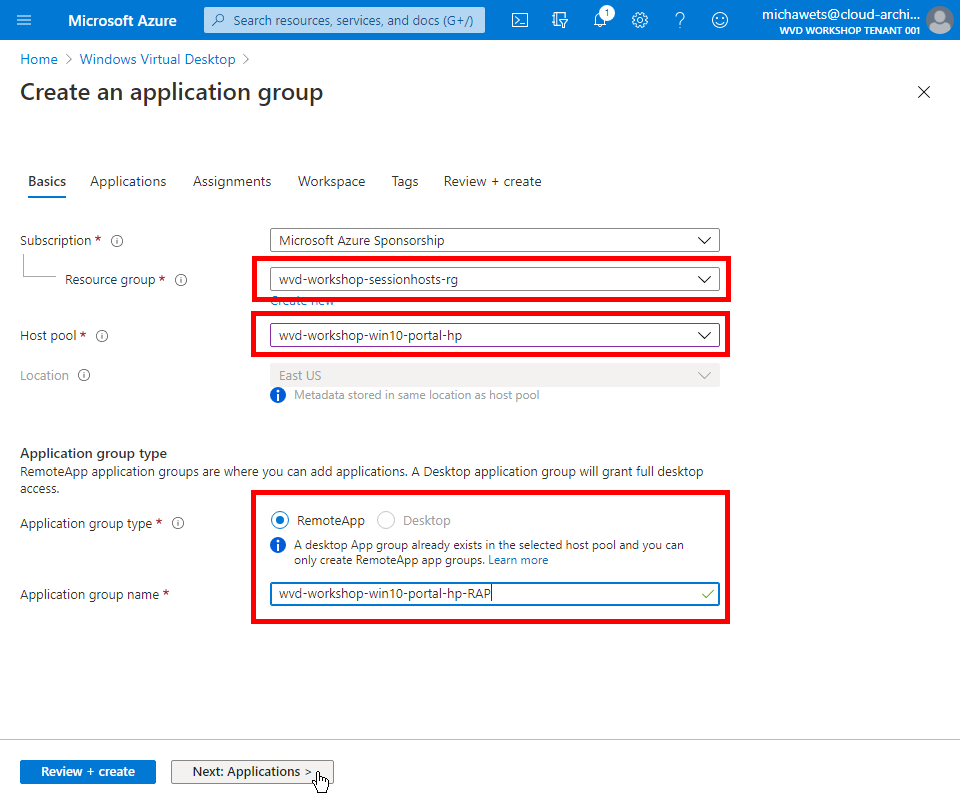
- Select the wvd-workshop-sessionhosts-rg Resource Group
Select the wvd-workshop-win10-portal-hp Hostpool from the list
Select RemoteApp
Fill in the Name wvd-workshop-win10-portal-hp-RAP and click on Next: Applications >
- Click on + Add applications
Select Acrobat Reader DC from the list
Click on Save
If you want to add more applications, like the pre-installed Visual Studio Code, just repeat these steps
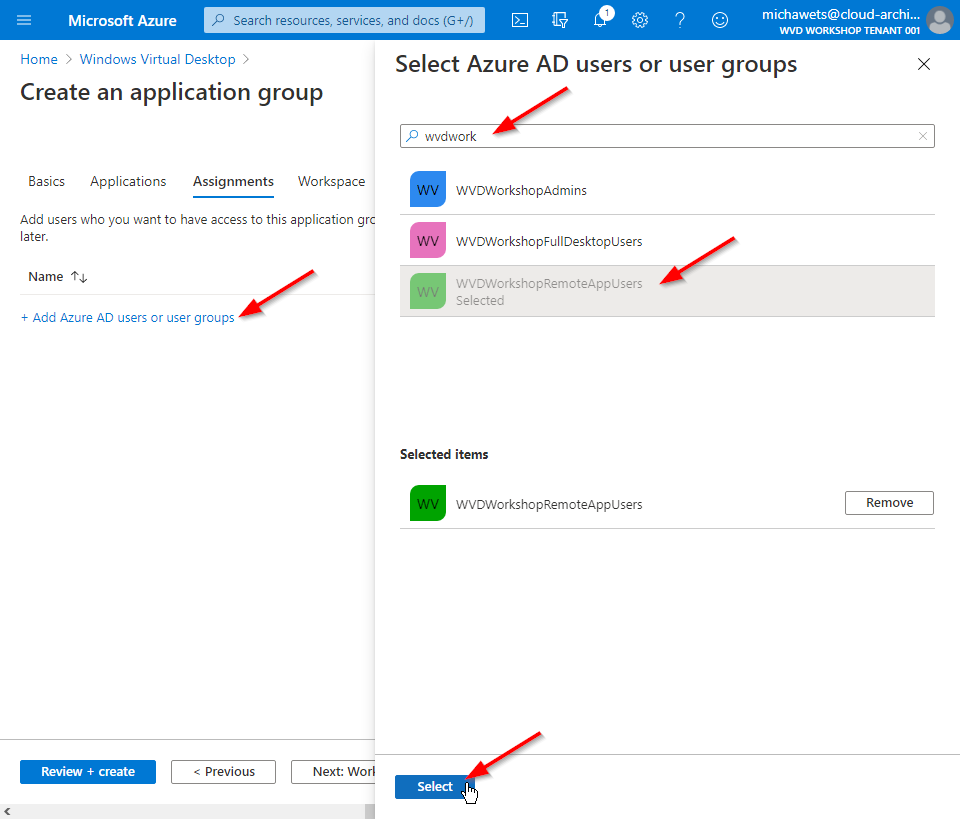
Click on Next: Assignments >

- Click on + Add Azure AD users or user groups
Search for our RAP group WVDWorkshopRemoteAppUsers
Select the group from the list and click on Select
Click on Next: Workspace >
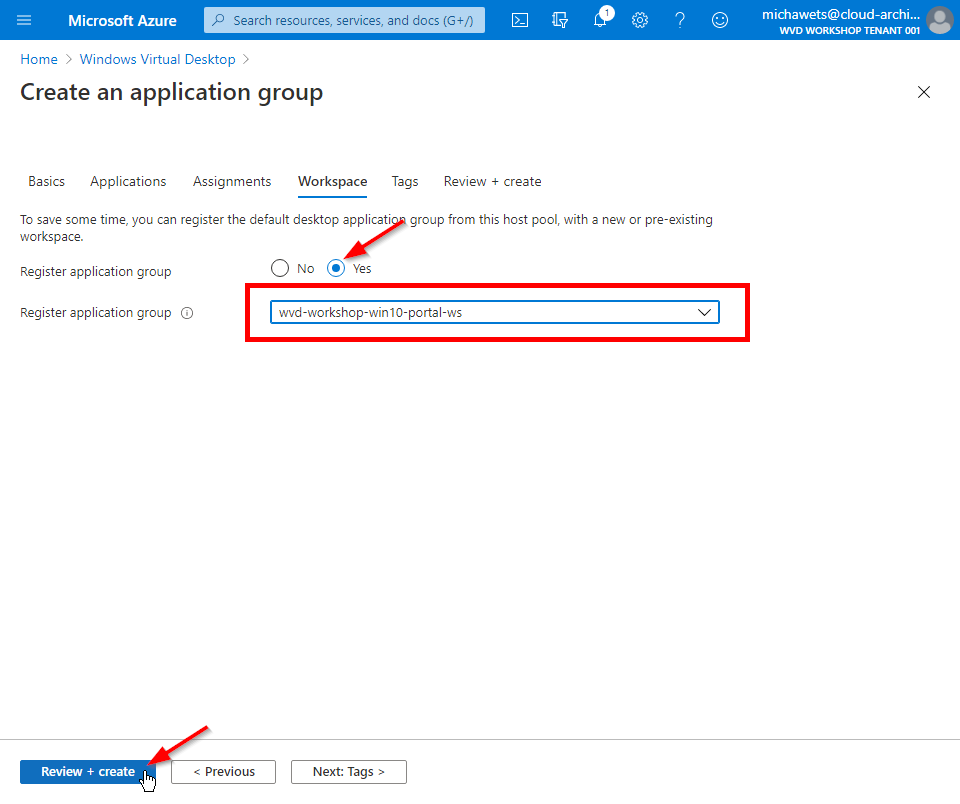
- Select Yes at the option Register application group to publish the application group to the users
Select the wvd-workshop-win10-portal-ws from the list
Click on Review + create
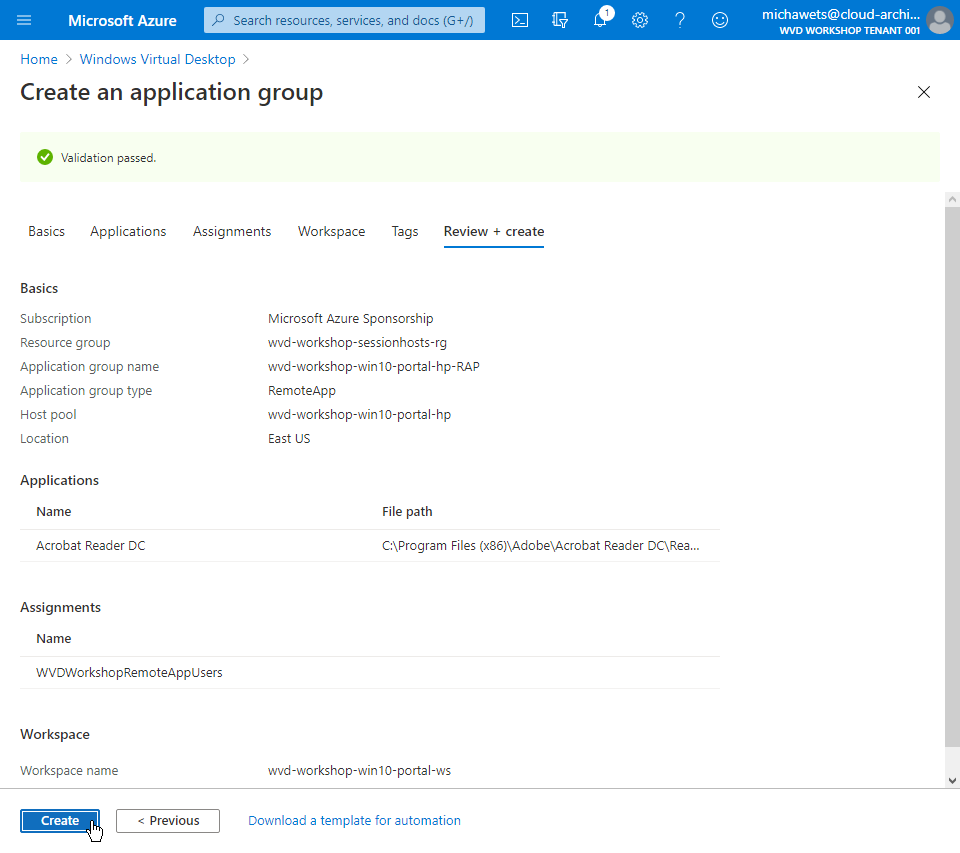
- Review the settings we configured and click on Create
- Sign in with demouser002 to see if the user now has Acrobat Reader (and other apps) published.
Configure Load-balancing mechanisms on the Hostpool
There are 2 Load-balancing mechanisms available:
- The default Load-balancing mechanism is Breadth-first, which will evenly distribute user sessions across the session hosts in a host pool.
- The second Load-balancing mechanism is Depth-first, which will saturate a session host with user sessions in a host pool.
Once the first session reaches its session limit threshold, the load balancer directs any new user connections to the next session host in the host pool until it reaches its limit, and so on.
Breadth-first
- Start user sessions to the Full Desktop using DemoUser001, 003, 004, 005 & 006 one-by-one, and monitor on which sessionhost the users get as a Sessionhost.
You can monitor the sessions in the Azure portal:
Go to the Hostpool, click on Session hosts and monitor the session by clicking on Refresh
Tip: Use the HTML5 webclient in different browsers & use Private Browsing.
For example:
DemoUser001 in the FatClient
DemoUser003 in Chrome
DemoUser004 in Chrome Private Browsing
DemoUser005 in Firefox
DemoUSer006 in Firefox Private Browsing
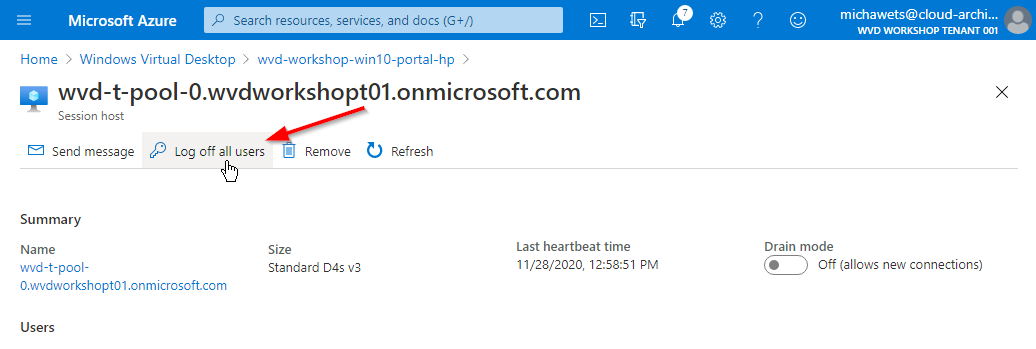
- Logoff all user sessions
This can be done in the portal:
Go to the Hostpool, click on Session hosts, click on each Sessionhost in the list and click on Log off all active users
- Validate that all Active Sessions on all Sessionhosts are back to 0
Depth-first
-
Change the Load-balancing mechanism on the Hostpool
In this example, we will allow 2 sessions for each Sessionhost. -
Click on Host pools
Click on the Hostpool wvd-workshop-win10-portal-hp
Click on Properties
Change the Max session limit to 2
Change the Load balancing algorithm to Depth-First and click on Save

-
Perform the same test as Breadth-First Load-balancing in step 2, monitoring the loadbalancing of the user sessions accross the Sessionhosts.
-
Logoff all user sessions (Azure Portal)
-
Change back to the default Load-balancing mechanism (Azure Portal)
Configure RDP Settings
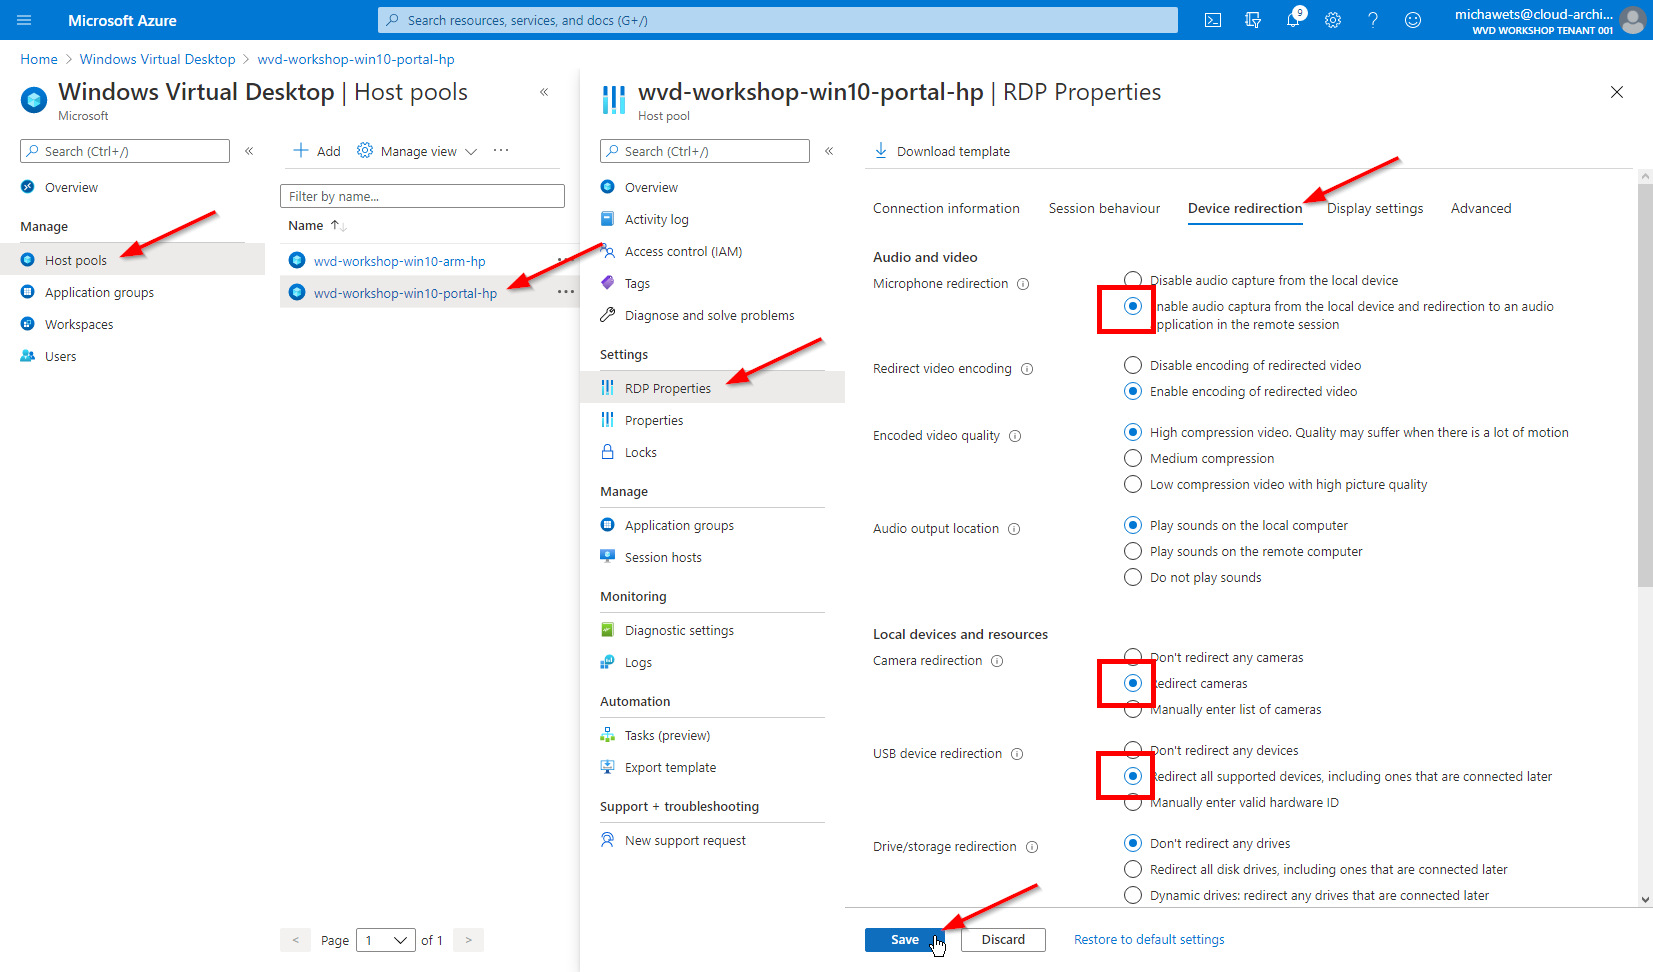
- Click on Host pools
Click on the Hostpool wvd-workshop-win10-portal-hp
Click on RDP Properties
Click on Device redirection
Change some settings, for example Microphone redirection and Camera redirection and click on Save
- Connect with DemoUser001 and check if you have your camera & microphone in the WVD Session