Start / Create IGEL OS on Hyper-V
Create IGEL OS on Hyper-V
In this step, you will install the IGEL OS on a Hyper-V VM, run it and connect to the WVD service (even with MFA enabled!)
We will do this in 3 sections:
- Register for a free trial
- Install the IGEL OS on a Hyper-V VM
- Configure your IGEL OS
Register for a free trial
Go to https://www.igel.com/form-download/, fill in the details and register for the 30 day free trial.
You will get an email with all details. Click on the link 4. Download the IGEL OS and convert a machine
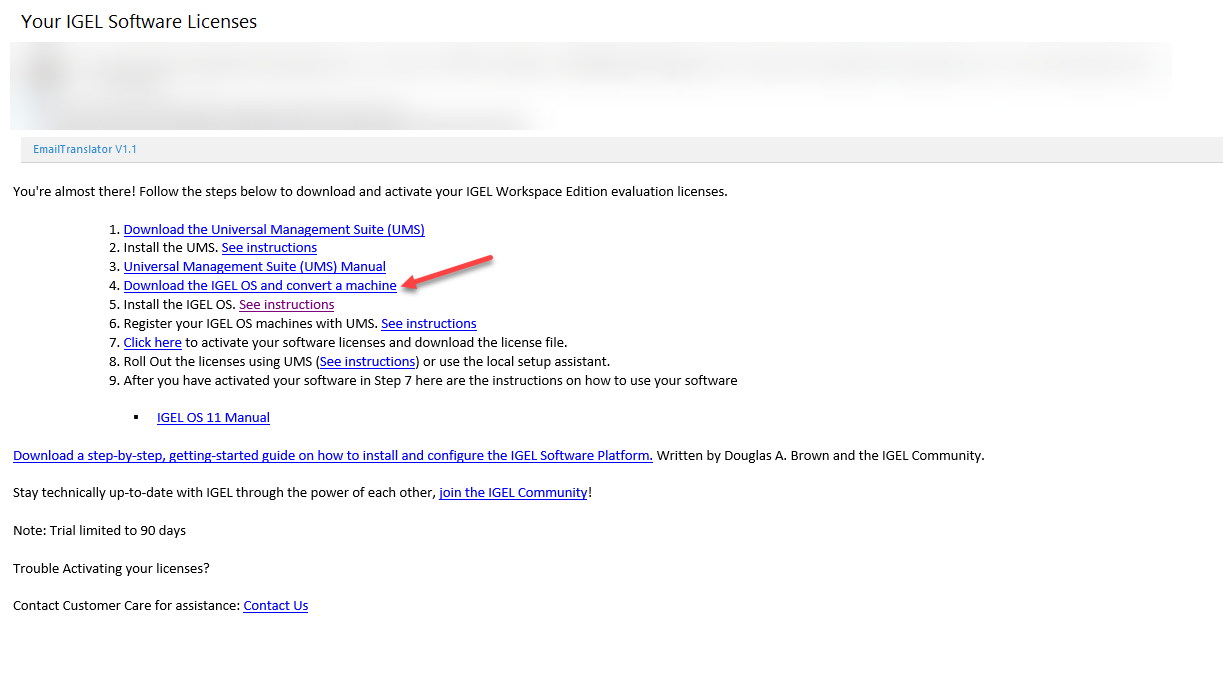
Download the Zip-file, extract the zip-file and remember the location
Install the IGEL OS on a Hyper-V VM
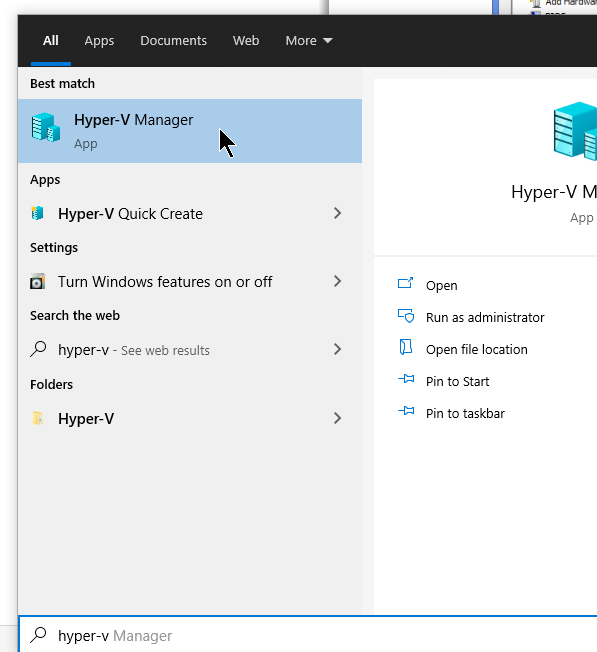
Start the HyperV Manager
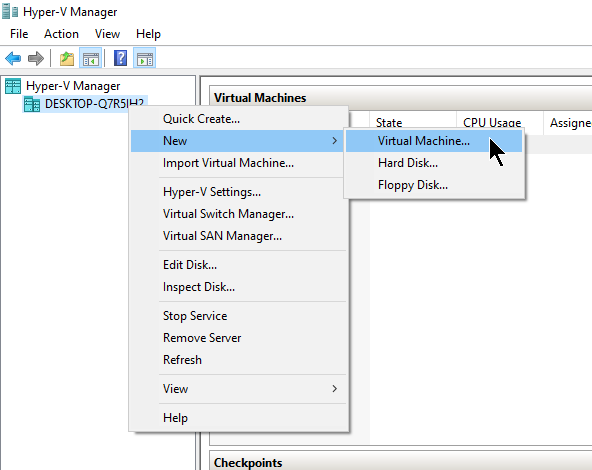
Right-click the Hyper-V Server (local PC for example), go to New and select Virtual Machine
Specify a name for the VM (for example IgelVM) and click on Next

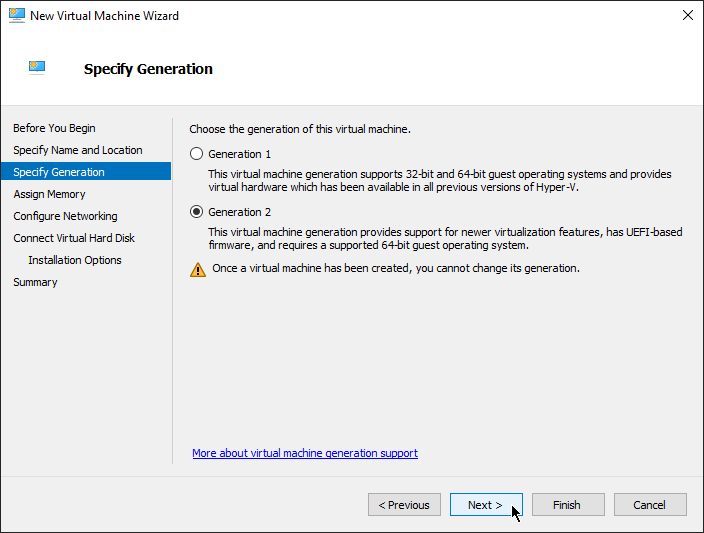
Select Generation 2 for the VM and click on Next
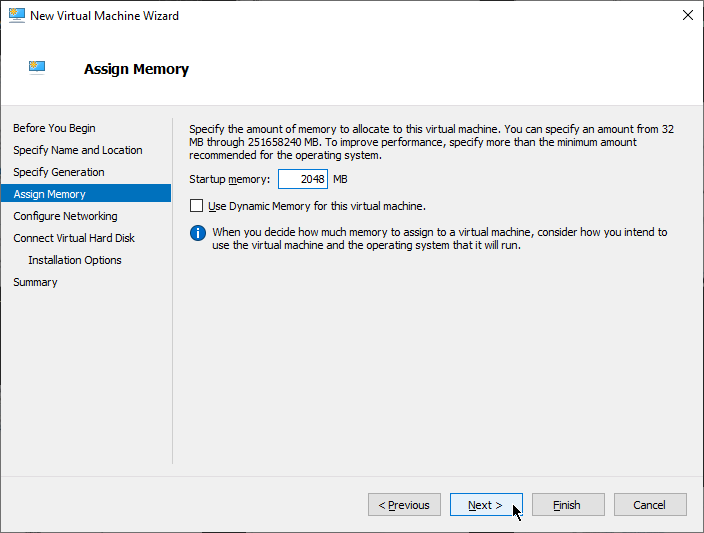
Assign the memory of the IgelVM (preferably 2GB or more) and click on Next
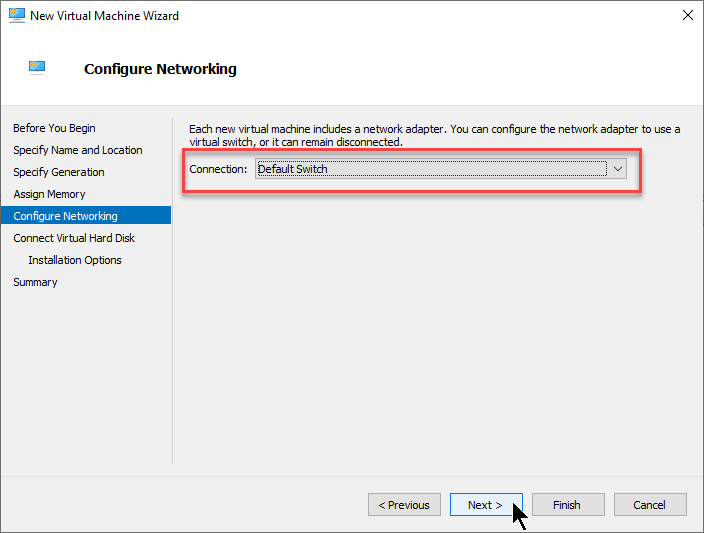
Select the correct Virtual Switch (depending on the HyperV Switch setup) and click on Next
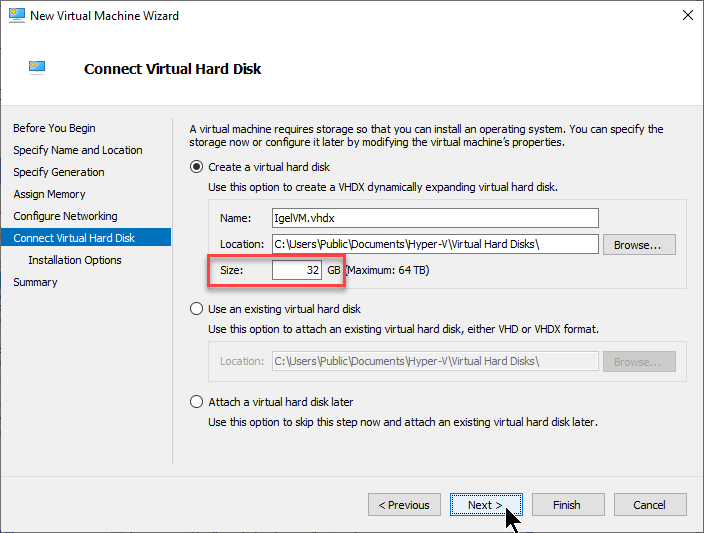
Configure the Disk settings from the VM (for example 32GB) and click on Next
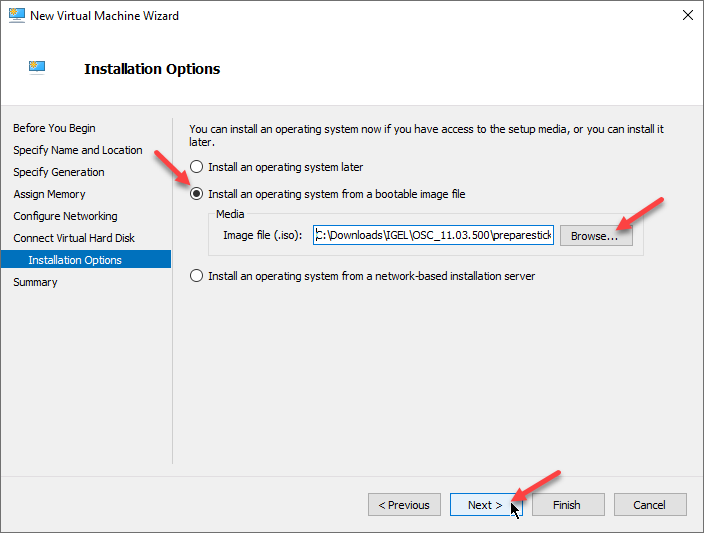
Select Install an operating system from a bootable image file, click on Browse, select the IGEL ISO that was downloaded & extracting at the beginning and click on Next
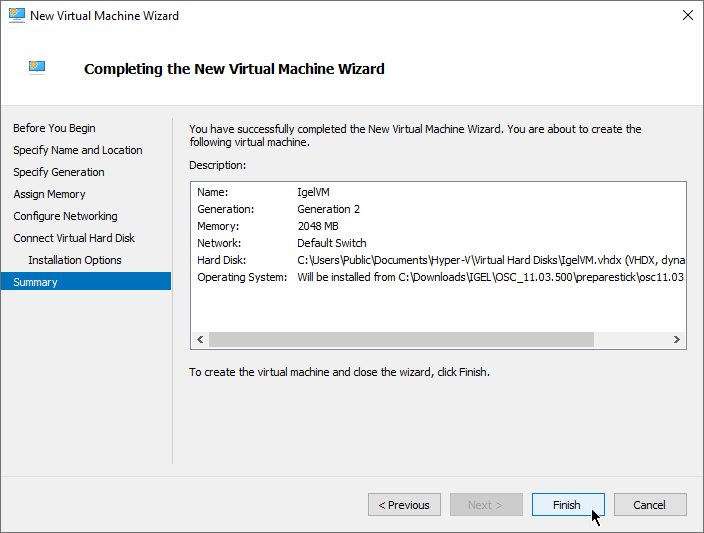
Review the Summary and click on Finish
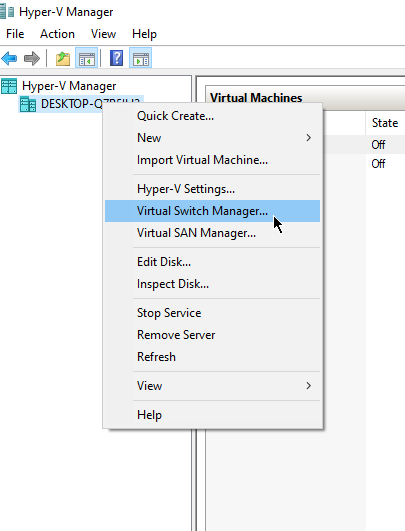
Right-click the Hyper-V Server and select Virtual Switch Manager
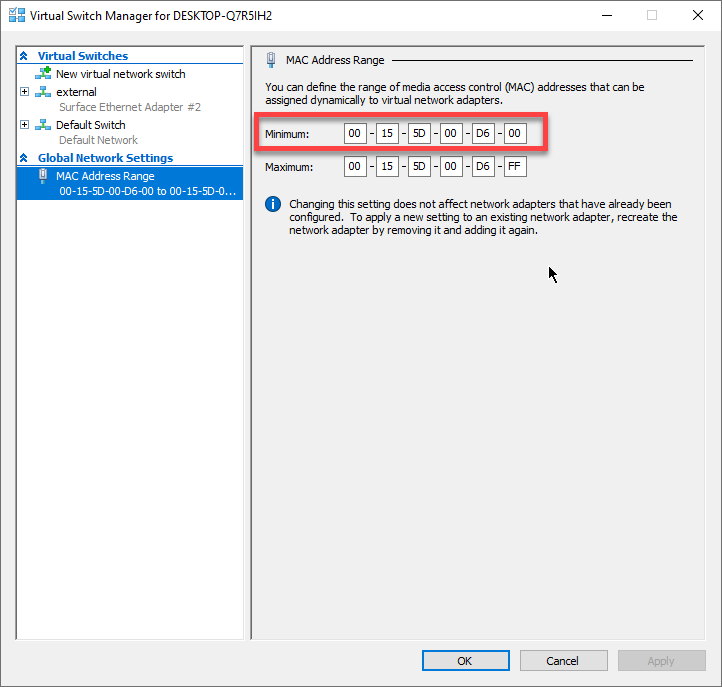
Go to Global Network Settings and note the MAC Address Range configured. You will need this in one of the next steps
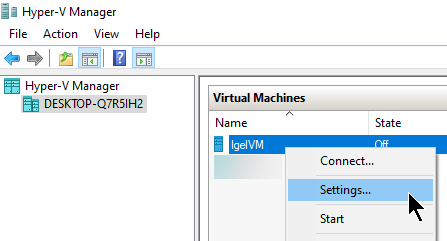
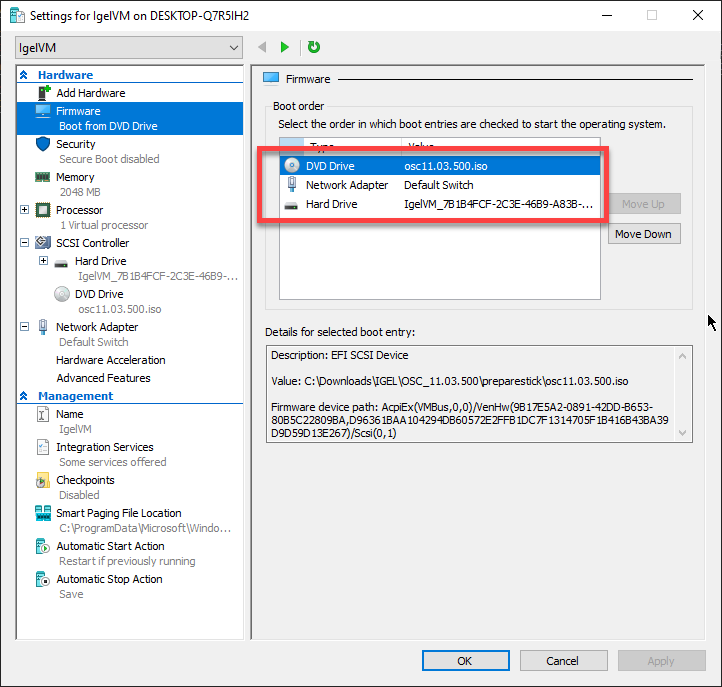
Open the IgelVM Settings
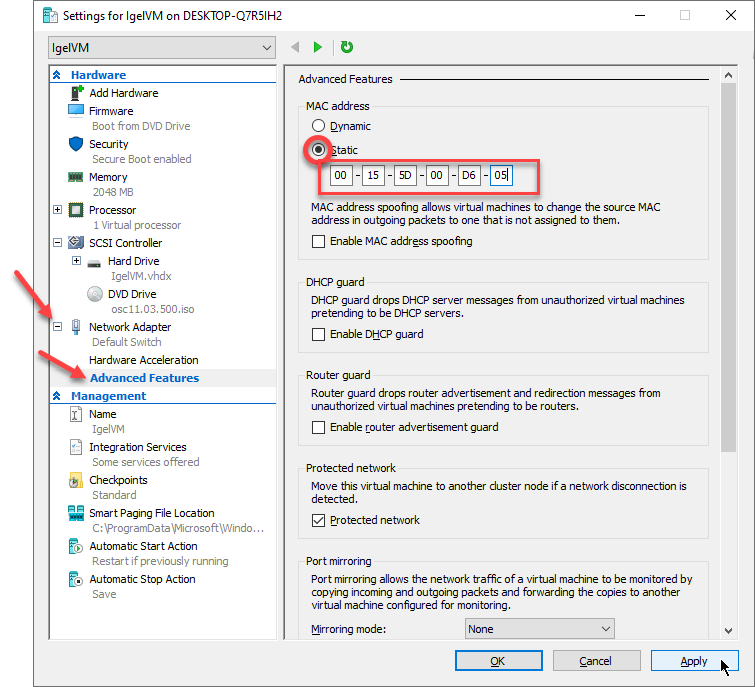
Configure a Static MAC address using an address in the range you noted from the MAC Address Range in the Virtual Switch Manager and click on Apply
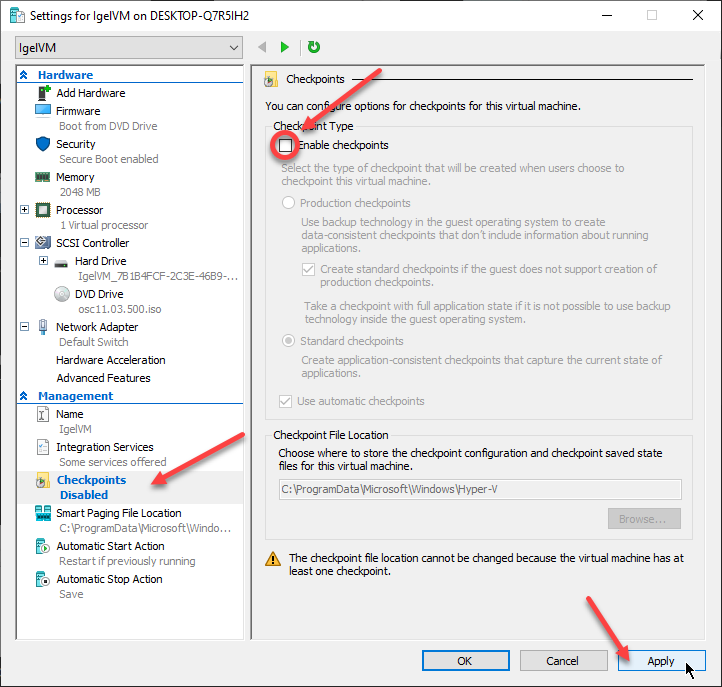
Disable Checkpoints for the VM and click on Apply
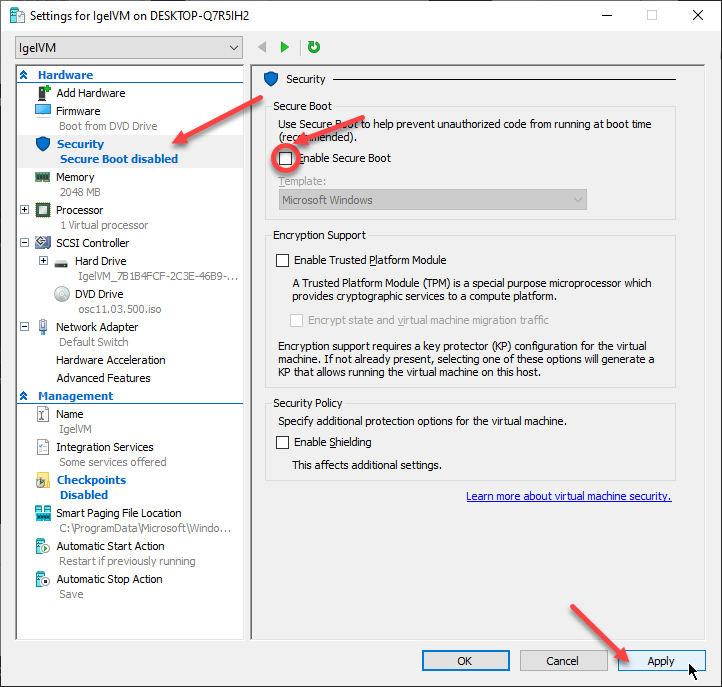
Disable Secure Boot for the VM and click on Apply
Verify the Boot order to make sure the VM will first boot from the ISO and click on OK
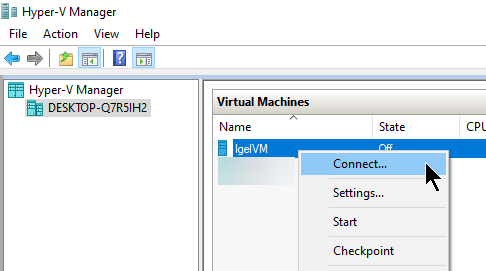
Right-click the IgelVM and select Connect
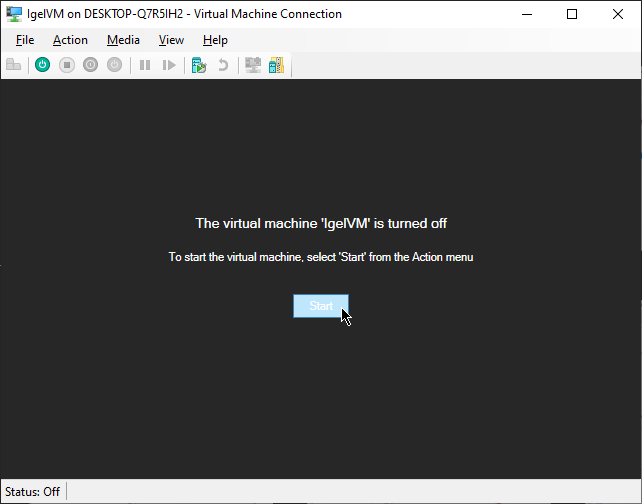
Click on Start to start the IgelVM
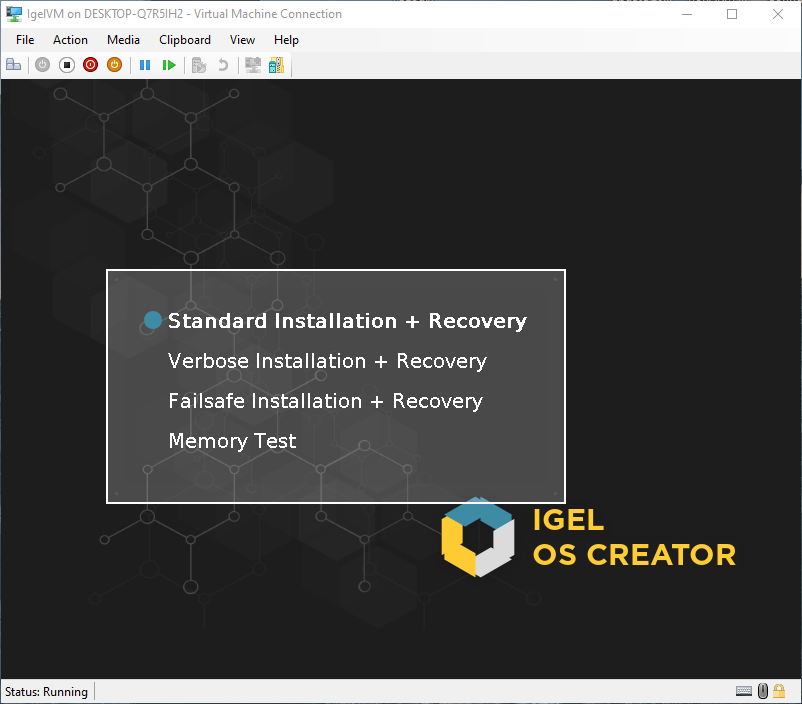
Select the default option: Standard Installation + Recovery
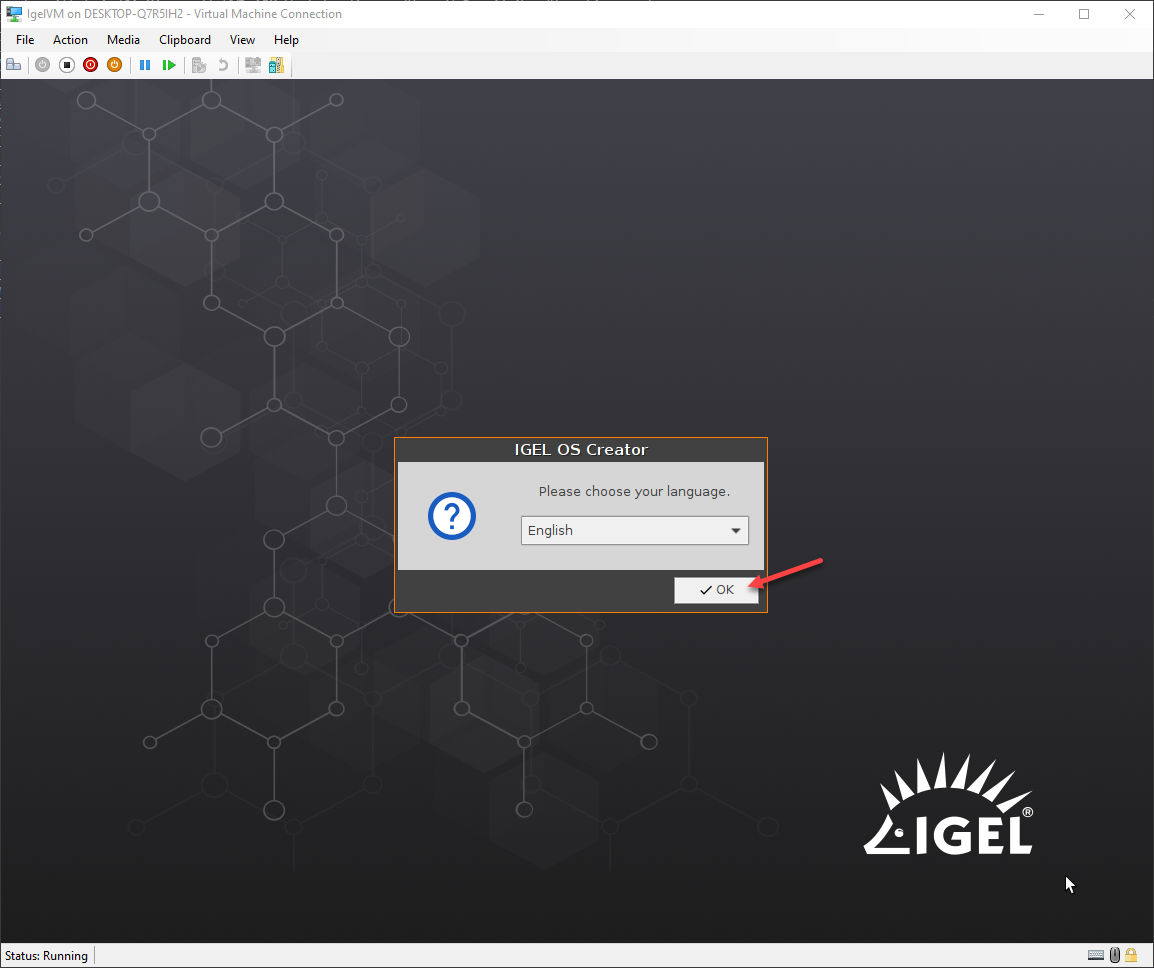
Select your preferred language and click on OK
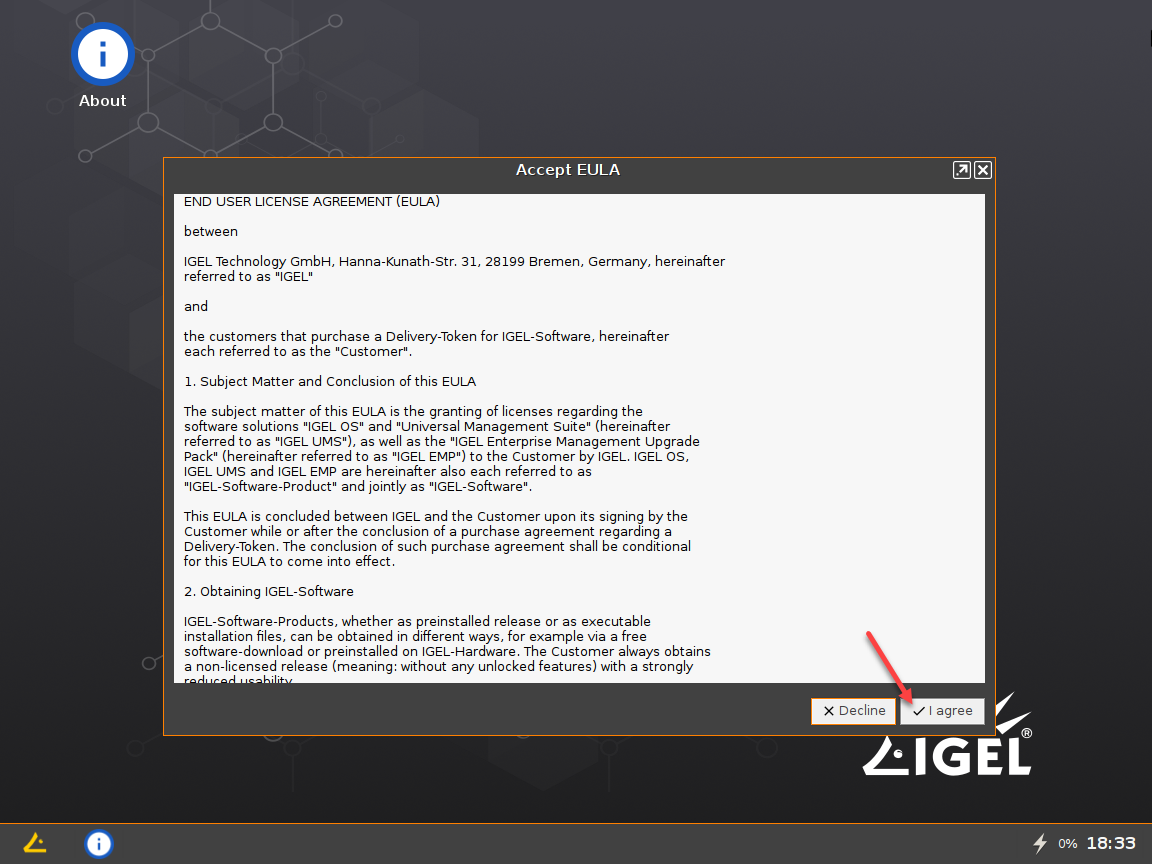
Review the EULA and click on I agree
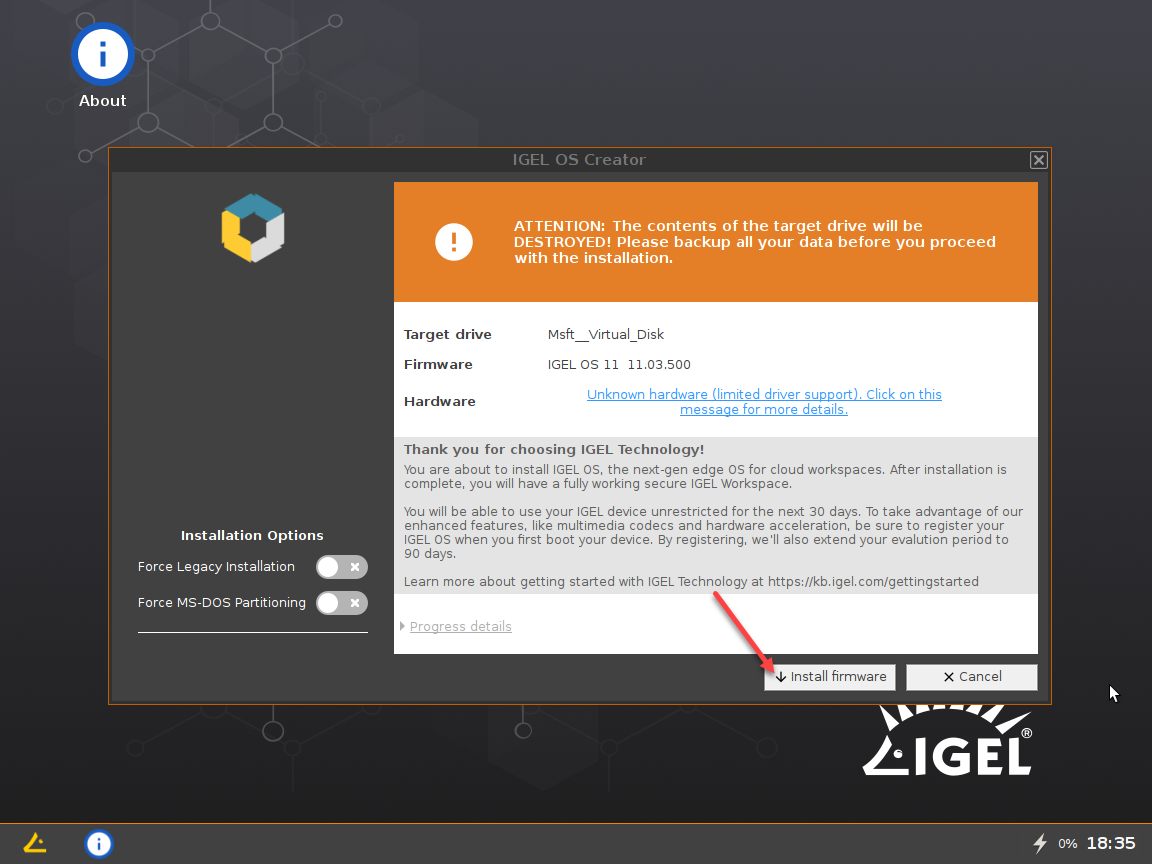
Confirm the warning by clicking on Install firmware
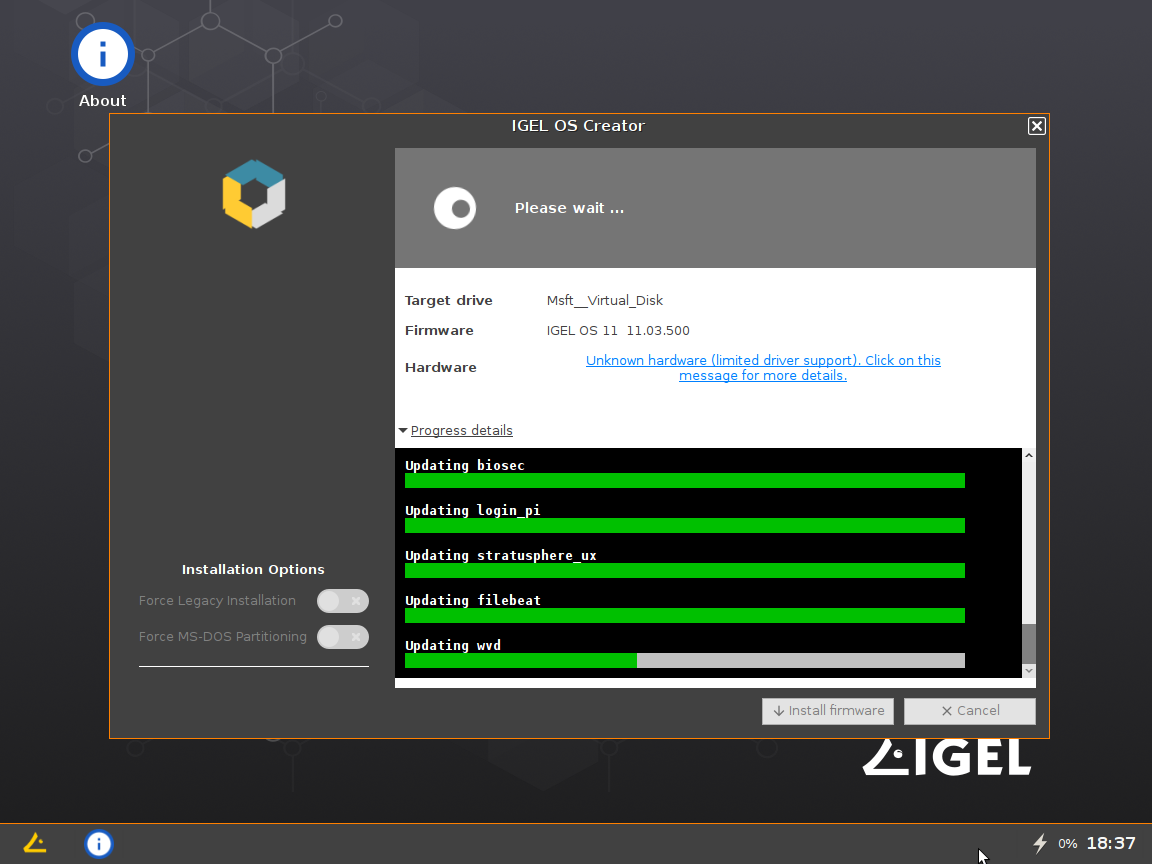
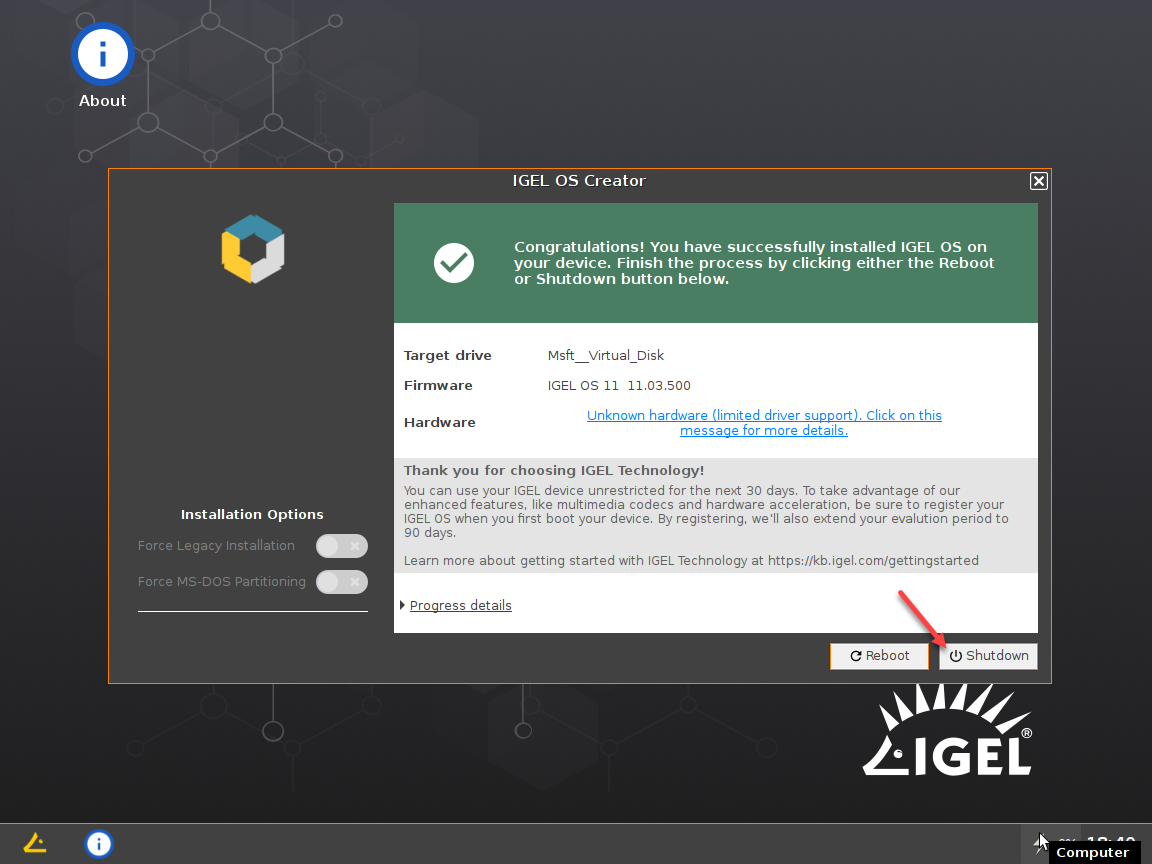
The IGEL OS will now be installed on the Hyper-V VM
When finished, Click on Shutdown
Configure your IGEL OS
Make sure the ISO is disconnected, and then click on Start again.
Select your preferred language and click on Next

Select your Keyboard Layout and click on Next

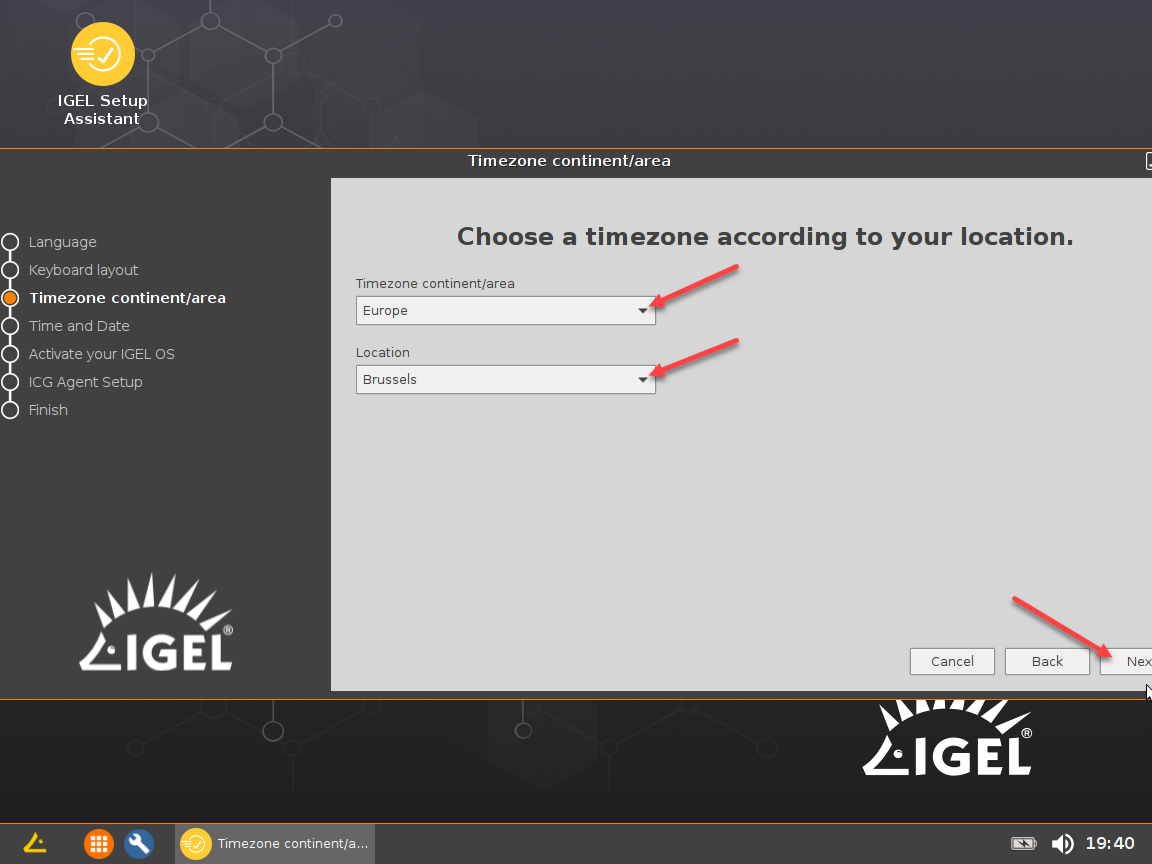
Select your Timezone & Location and click on Next
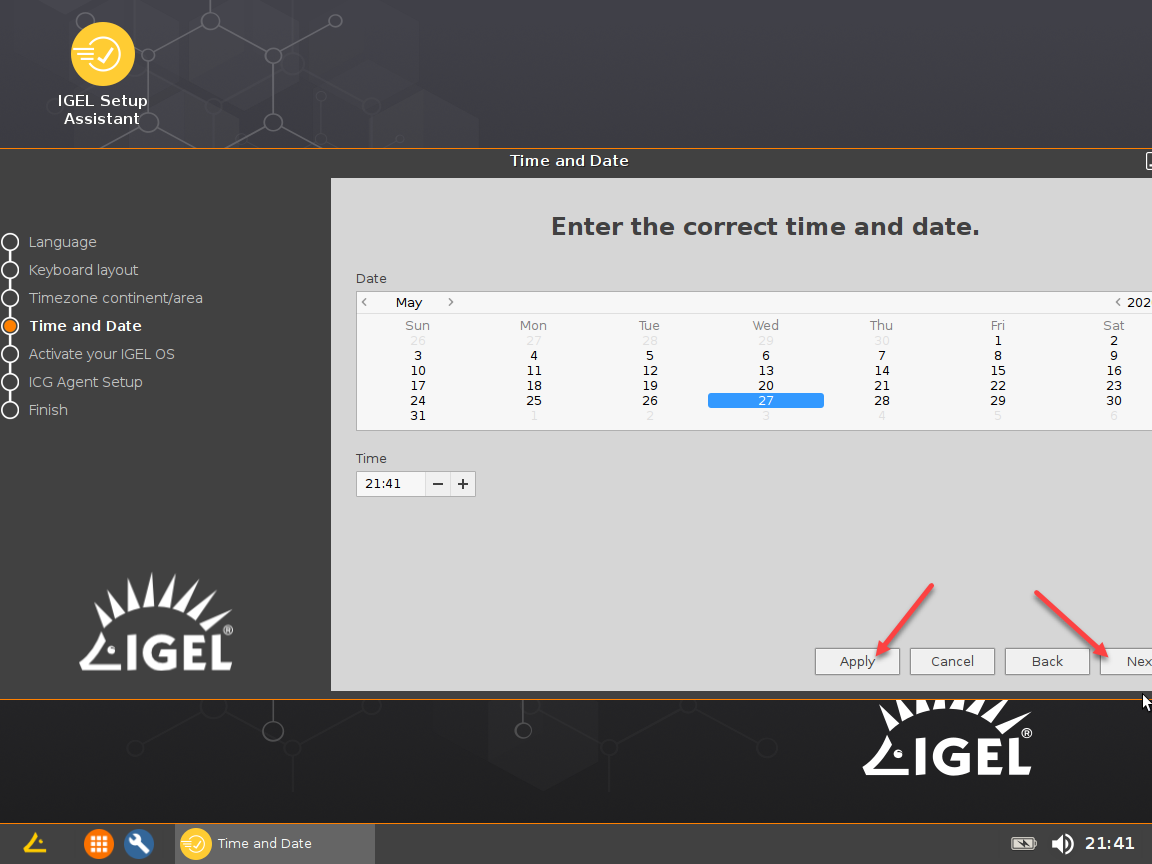
Configure the correct Date & Time, click on Apply and click on Next
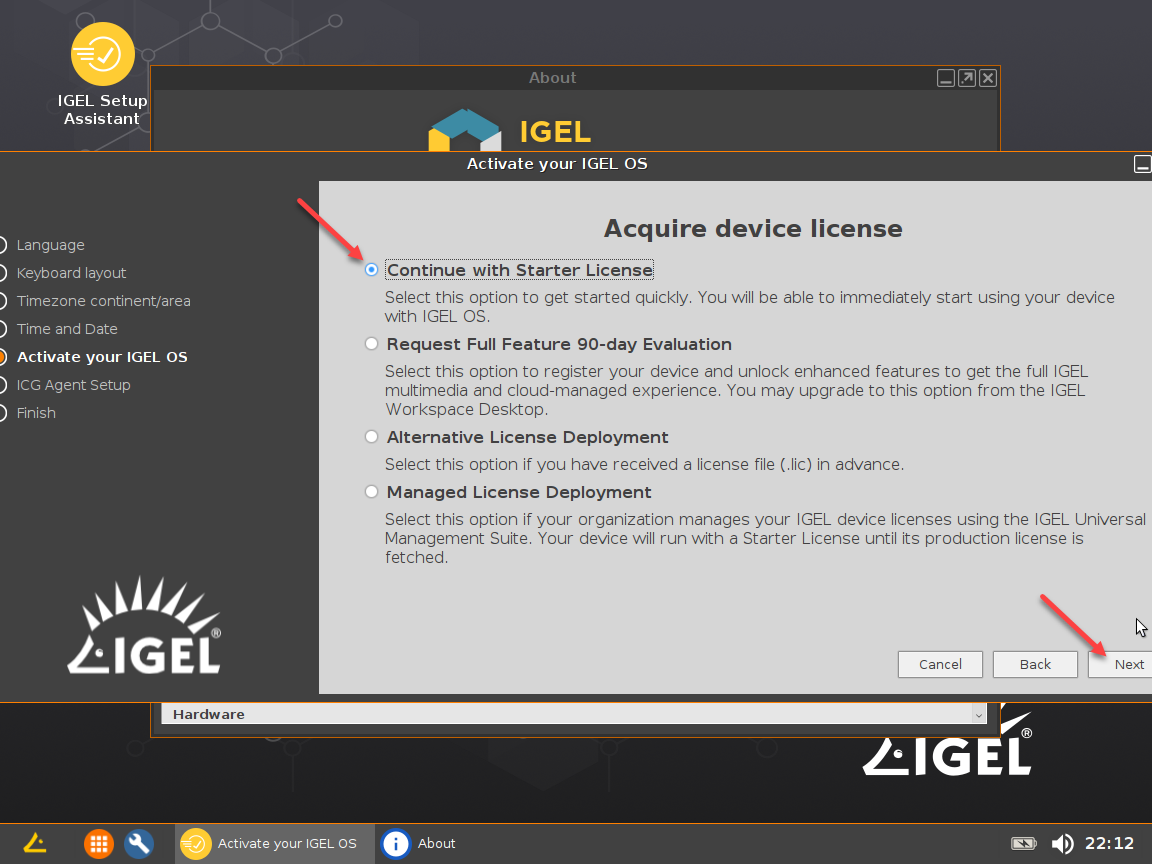
Select Continue with Starter License (or other option if applicable for you) and click on Next
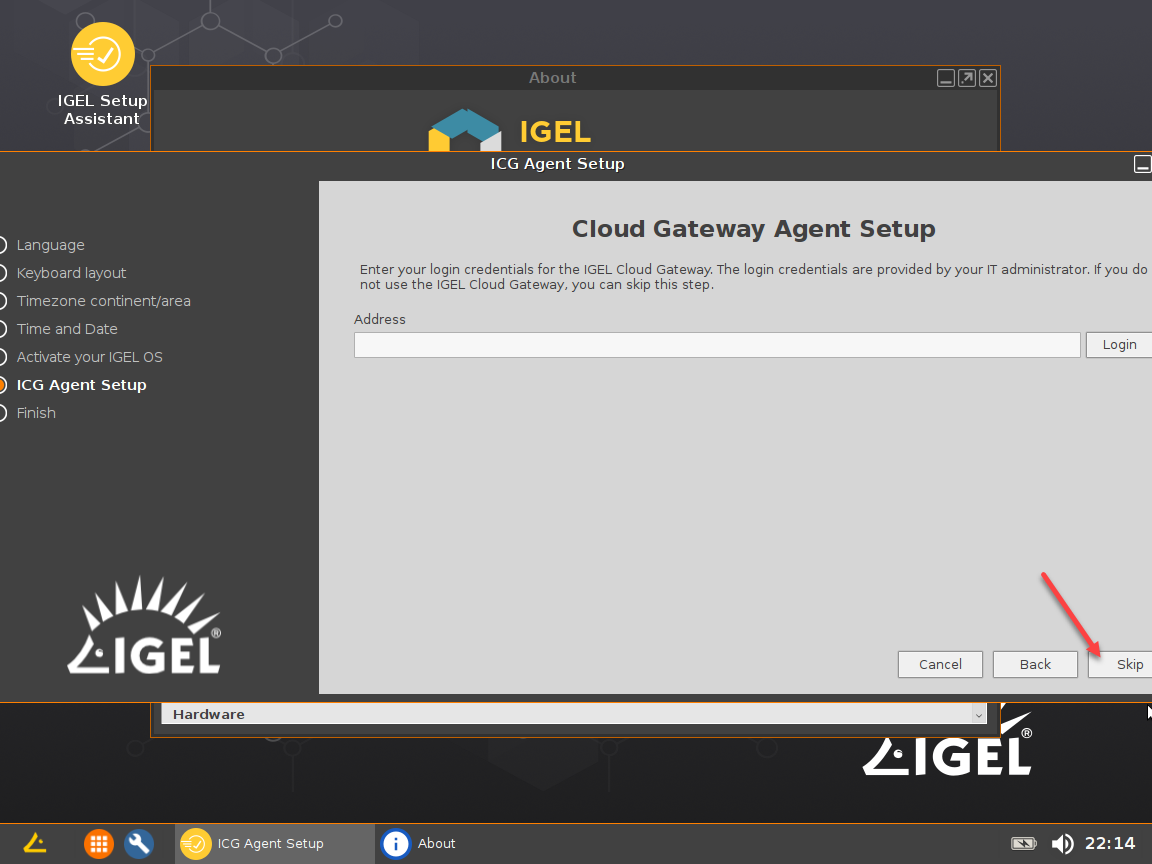
Skip the Cloud Gateway Agent Setup by clicking on Skip
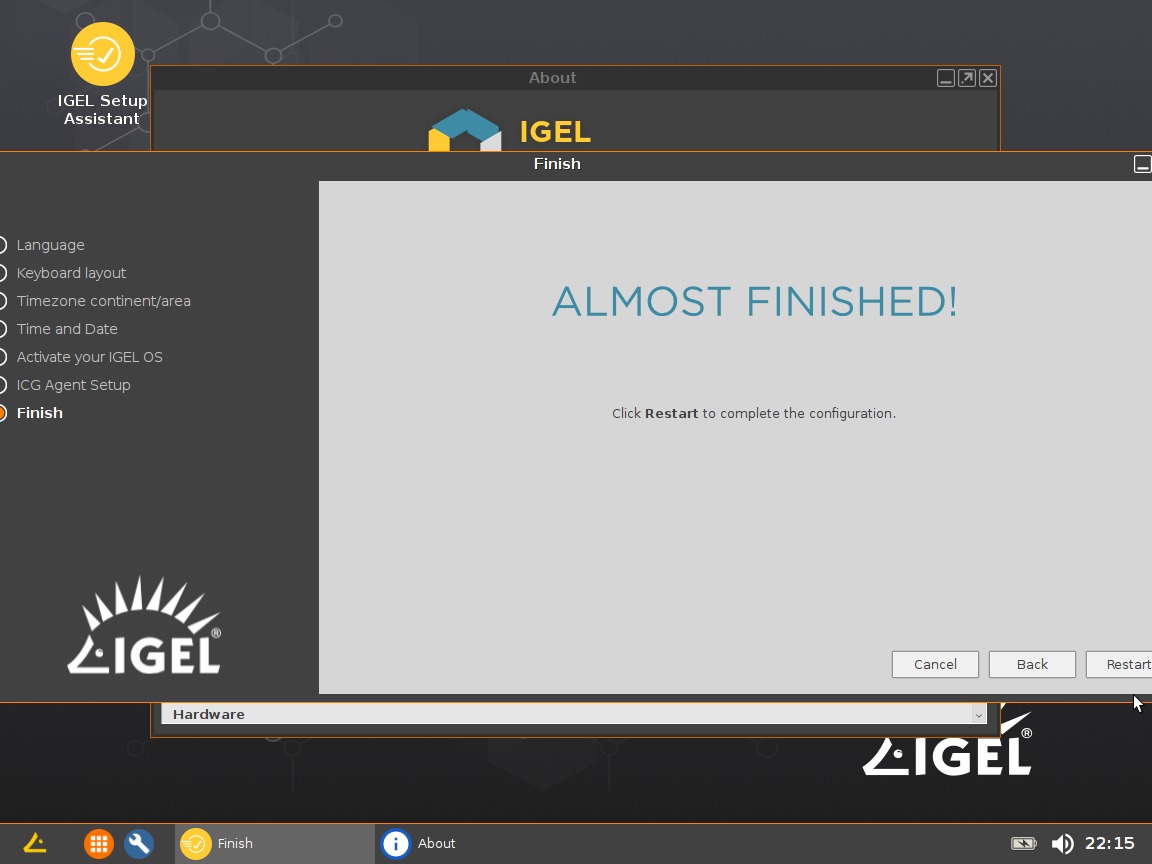
Confirm all changes by clicking on Restart
After the reboot, you can configure the IGEL OS WVD setup.
Detailed steps how to do this can be found here: https://kb.igel.com/igelos-11.03.500/en/how-to-connect-igel-os-to-windows-virtual-desktop-28251665.html
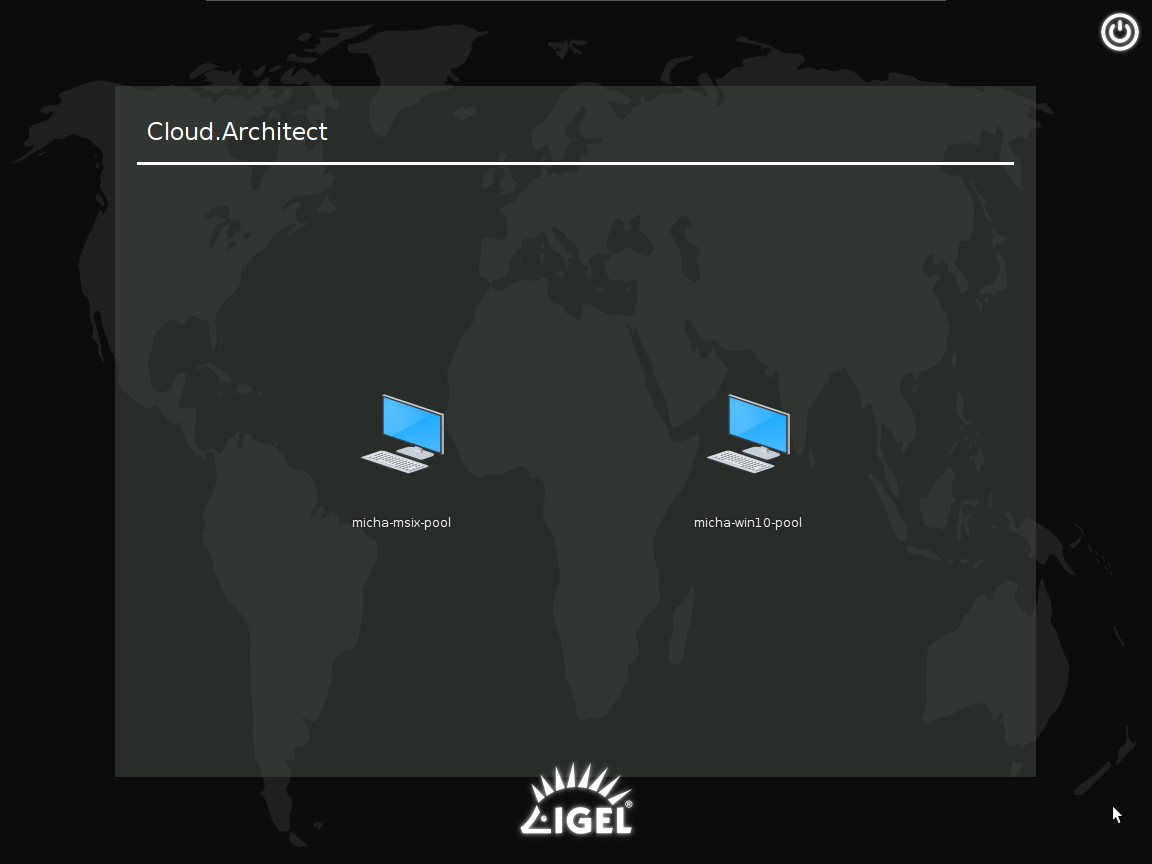
Once configured, you will see the WVD session name. Double click on it to launch

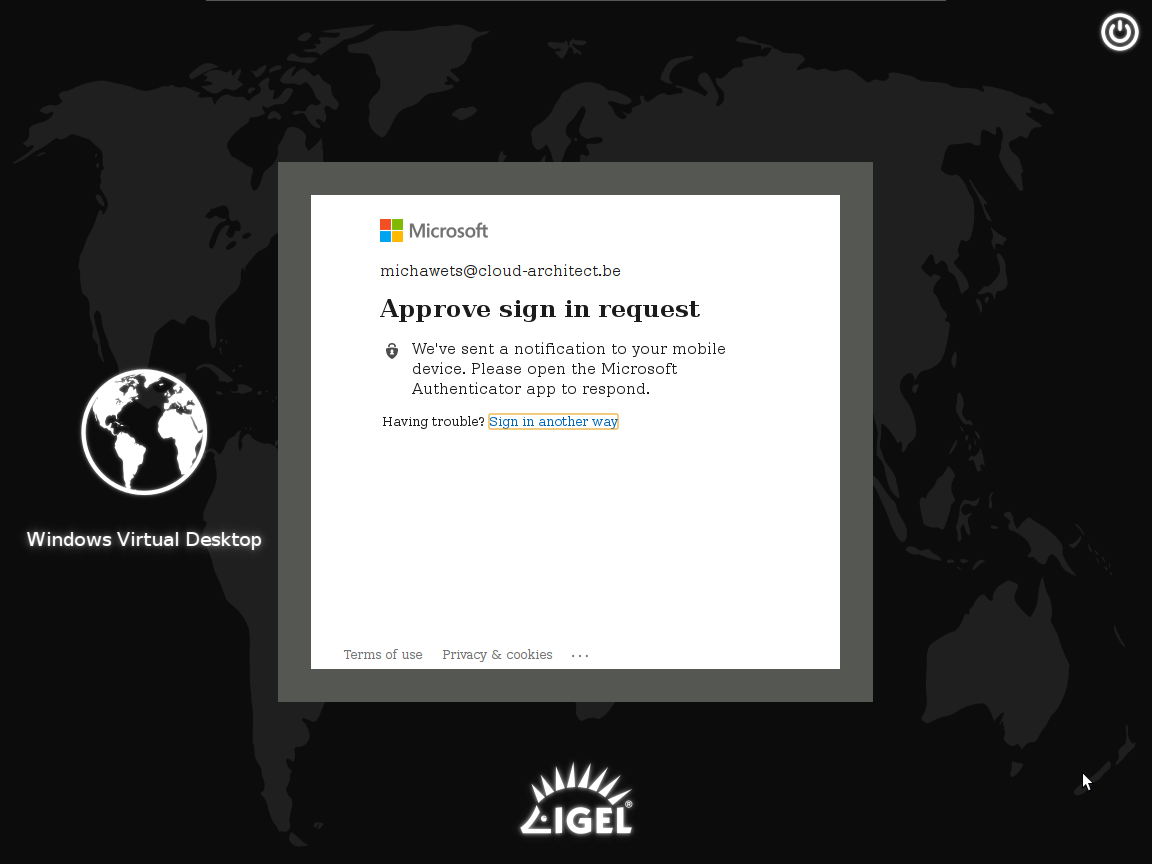
When you have MFA configured for your account, you will get the MFA popup & request
Select the Remote Application or Remote Desktop configured for your user account to launch it
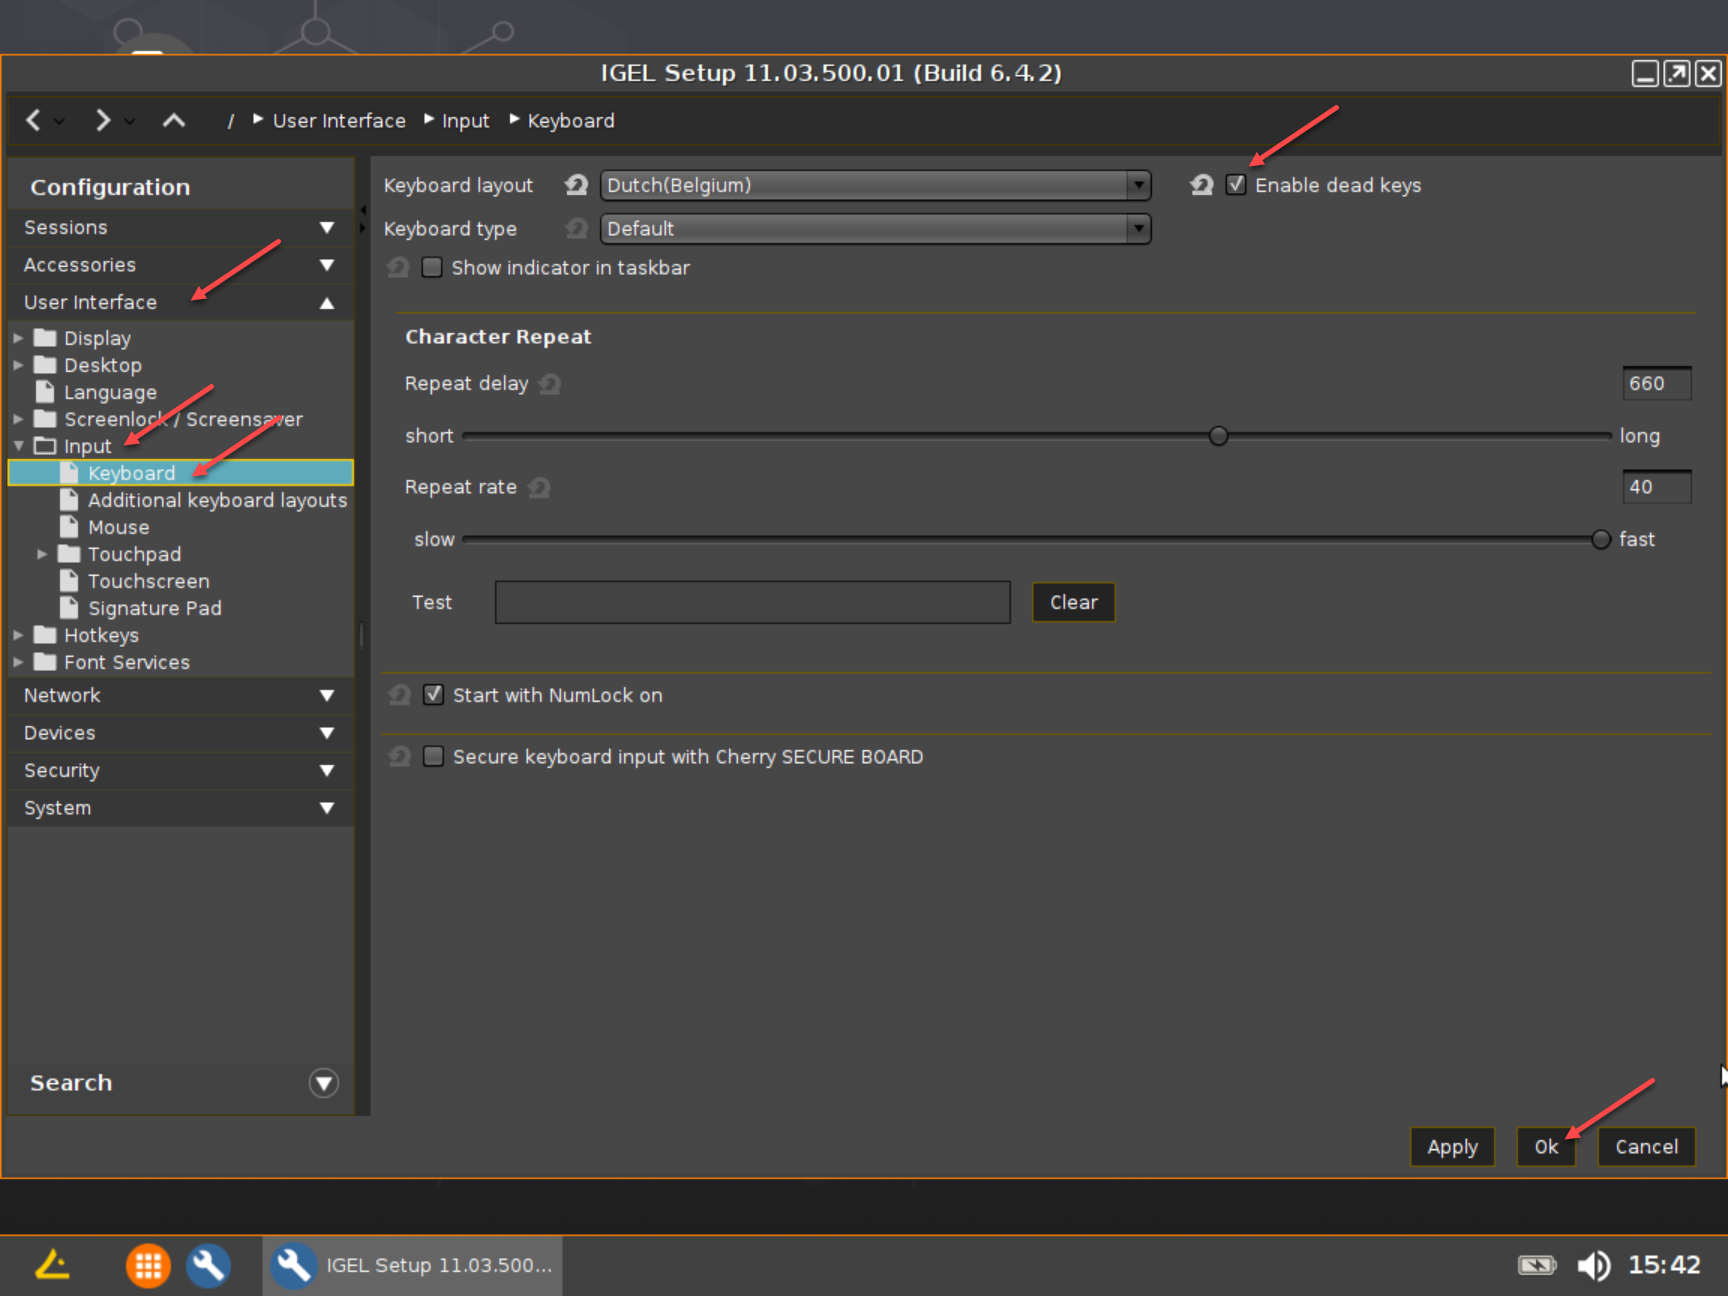
Configure Dead keys
- A small tip from IGEL:
If your keyboard requires “dead keys” like ^ or `, you can do this in the Setup of Igel OS:
More info on Dead keys can be found here! Dead Keys wiki