Start / Create Windows Active Directory VM
Create Windows Active Directory VM
In this step, you will
- Deploy a new VM using the Template Deployment from the Marketplace
- Connect the Windows Active Directory to Azure Active Directory using Azure AD Connect
You could use Azure Active Directory Domain Services, but this will not be covered in this workshop. If it is already enabled, you can skip this step.
In this workshop, we will use AD Connect on a Azure VM running the Windows Active Directory role (for better understanding of the setup & to keep costs lower).
Create Windows Active Directory VM
-
Sign in on the Azure Portal with your credentials.
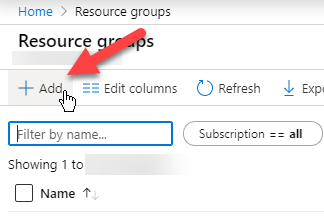
- Click on Resource Groups & create 2 Resource Groups in west-europe:
- wvd-workshop-infra-rg
- wvd-workshop-sessionhosts-rg
-
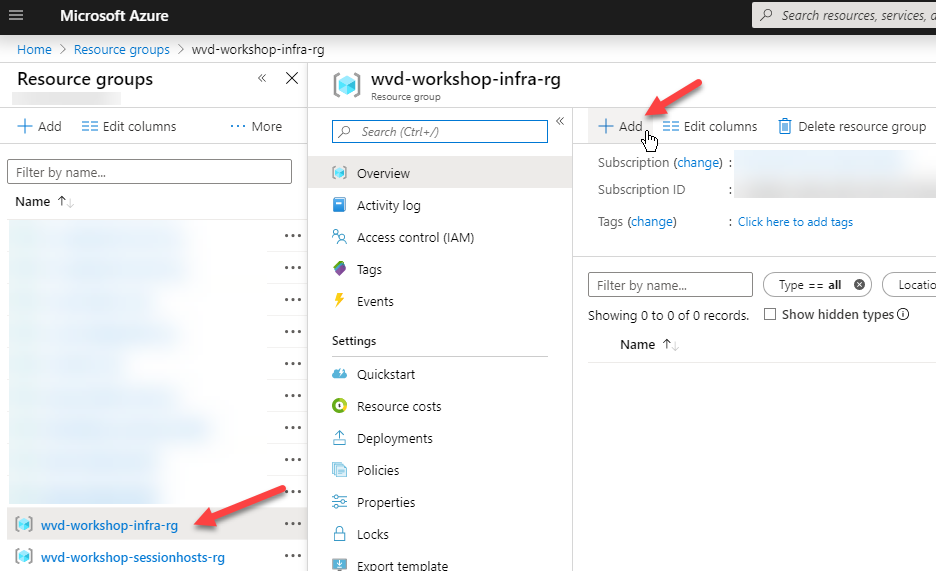
Select the first Resource Group: wvd-workshop-infra-rg
Click on Add
-
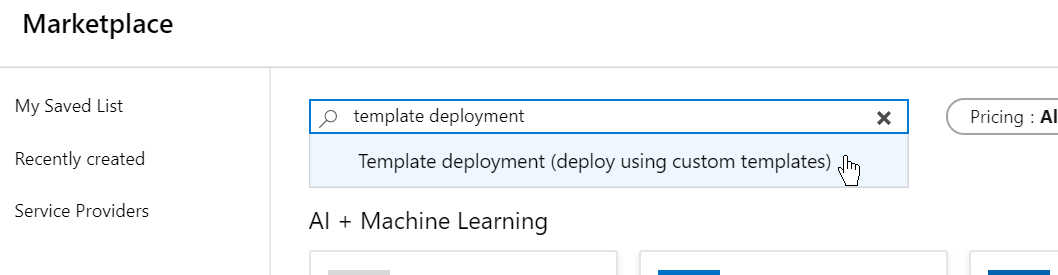
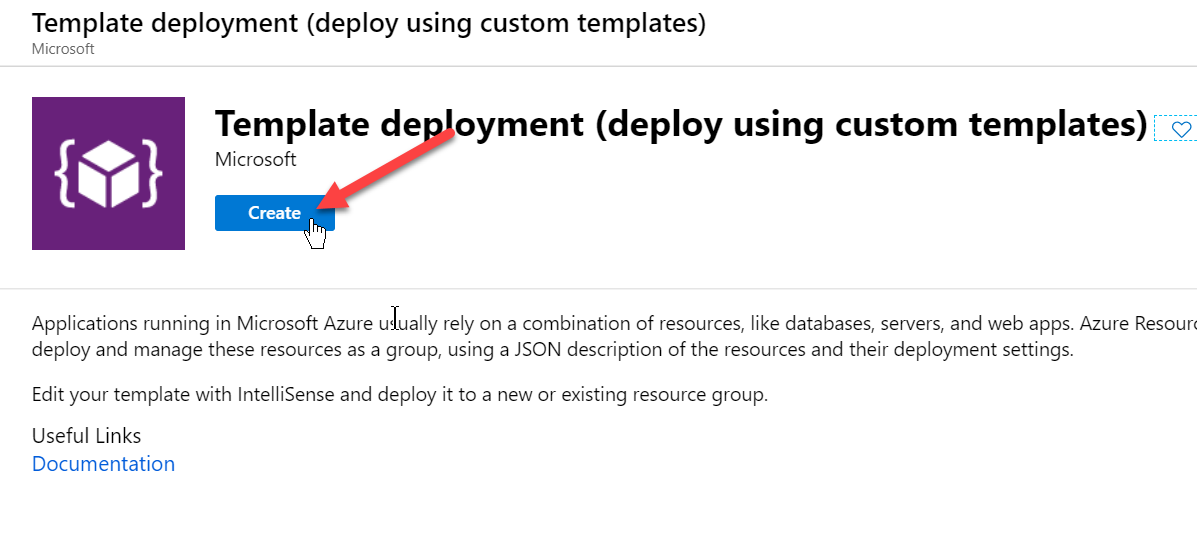
Search for Template Deployment and select the option Template Deployment (deploy using custom templates)
-
Click on Create to confirm
-
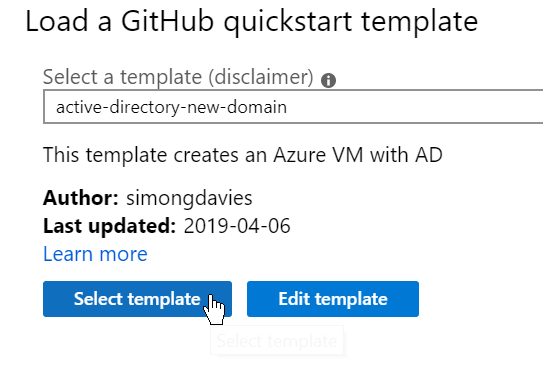
Under Load a GitHub quickstart template, search for the template active-directory-new-domain
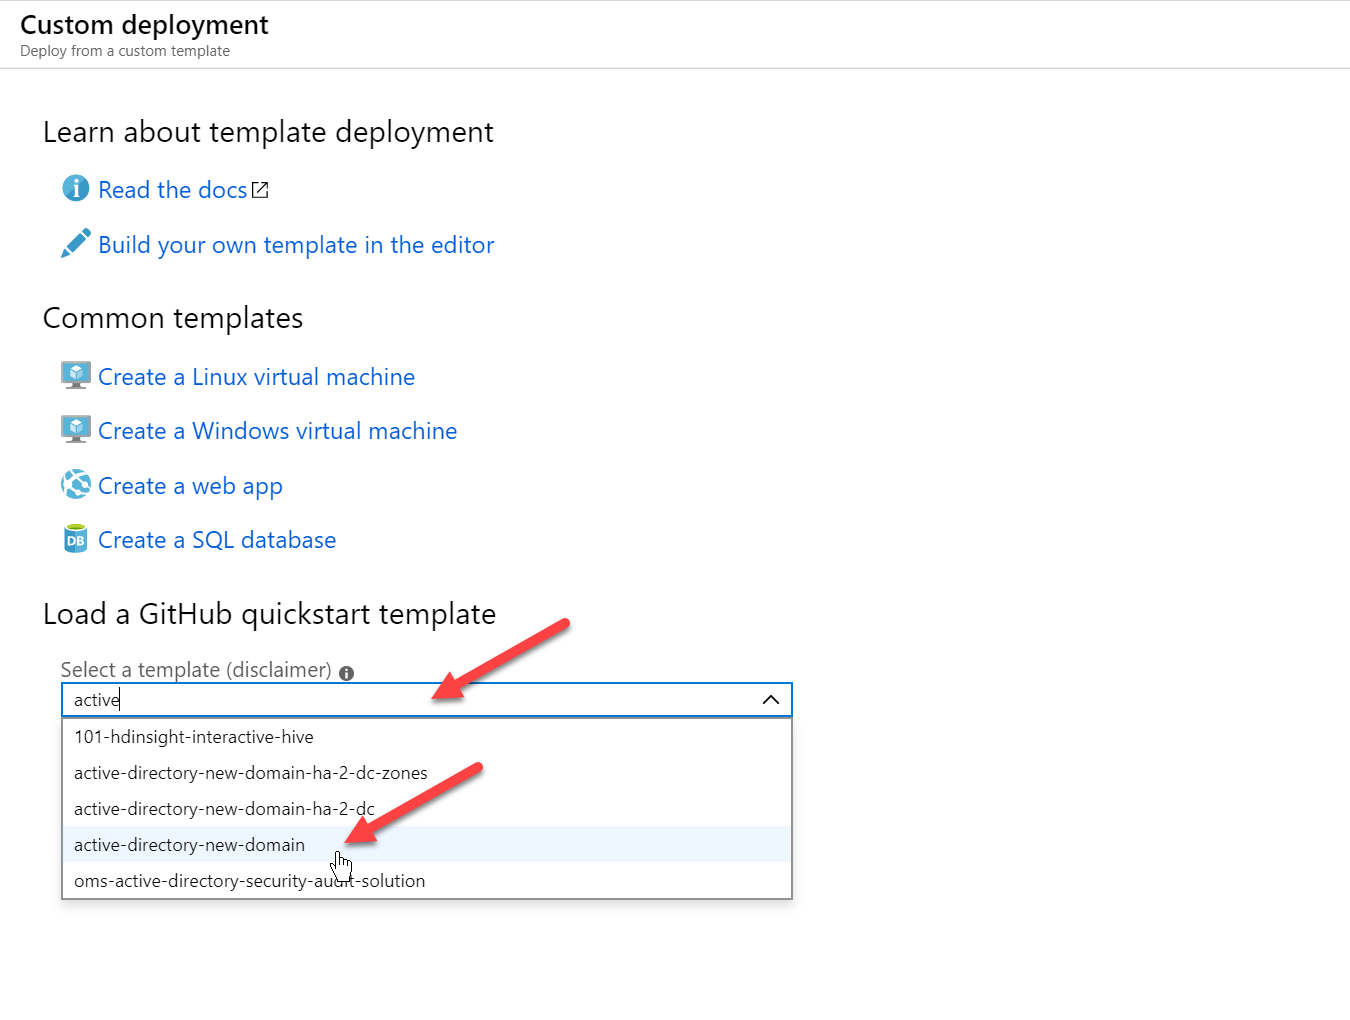 Click on Select template
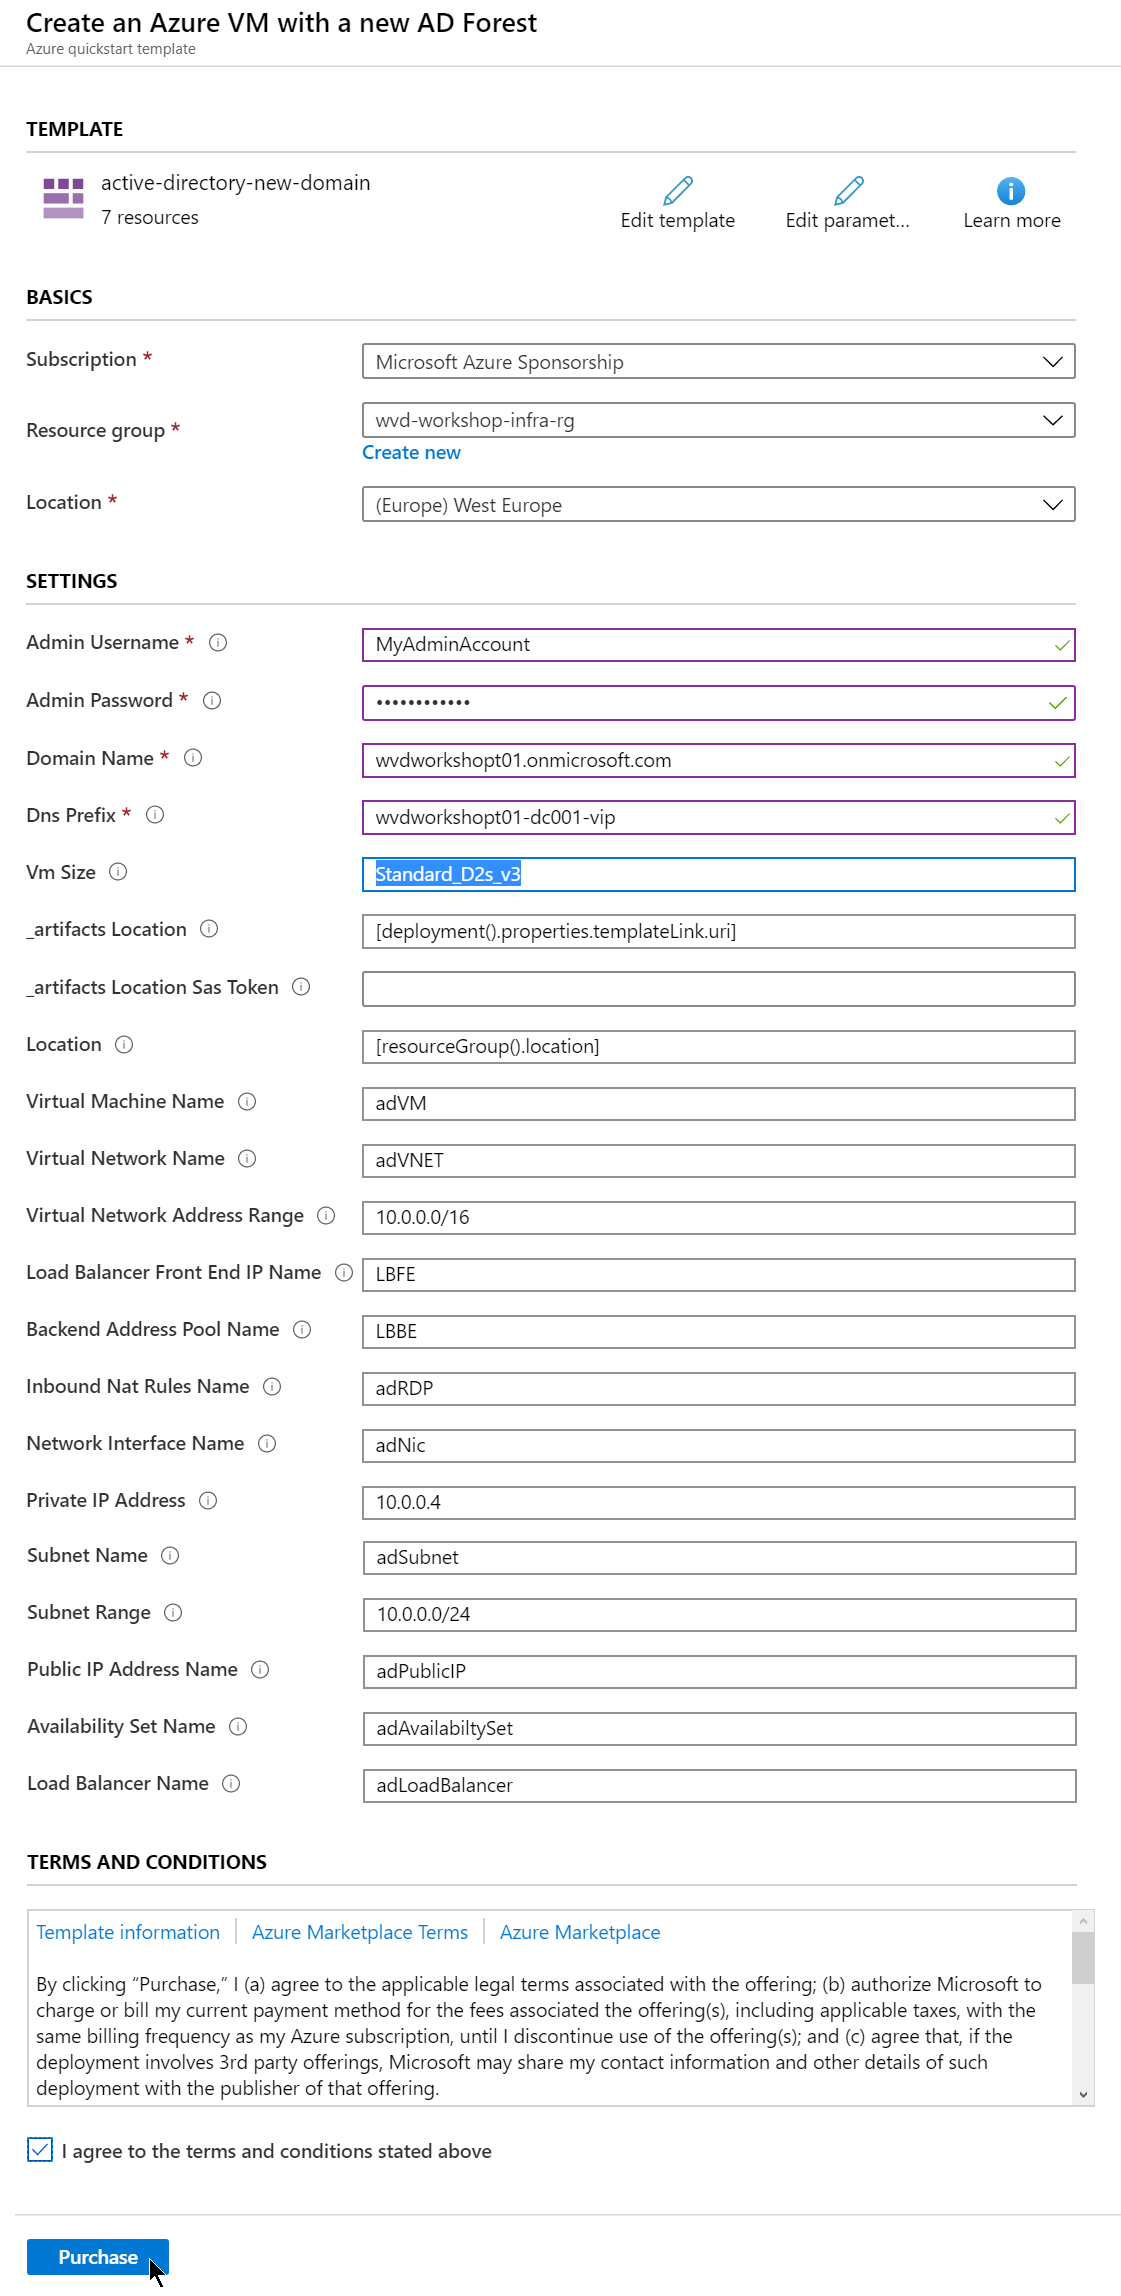
- Fill in the Create an Azure VM with a new AD Forest wizard and click on Purchase
The Basics should already be completed due to the fact we started from the Resource Group
IMPORTANT!
- Remember the username & password!
- Use only lowercase characters in the domain name & DNS prefix
- Use the same name as your new Azure AD.
- The NetBios name cannot exceed the 15 char limit
Config Azure AD Connect
-
When the Deployment is finished, you go to the Resource Group and open the adVM
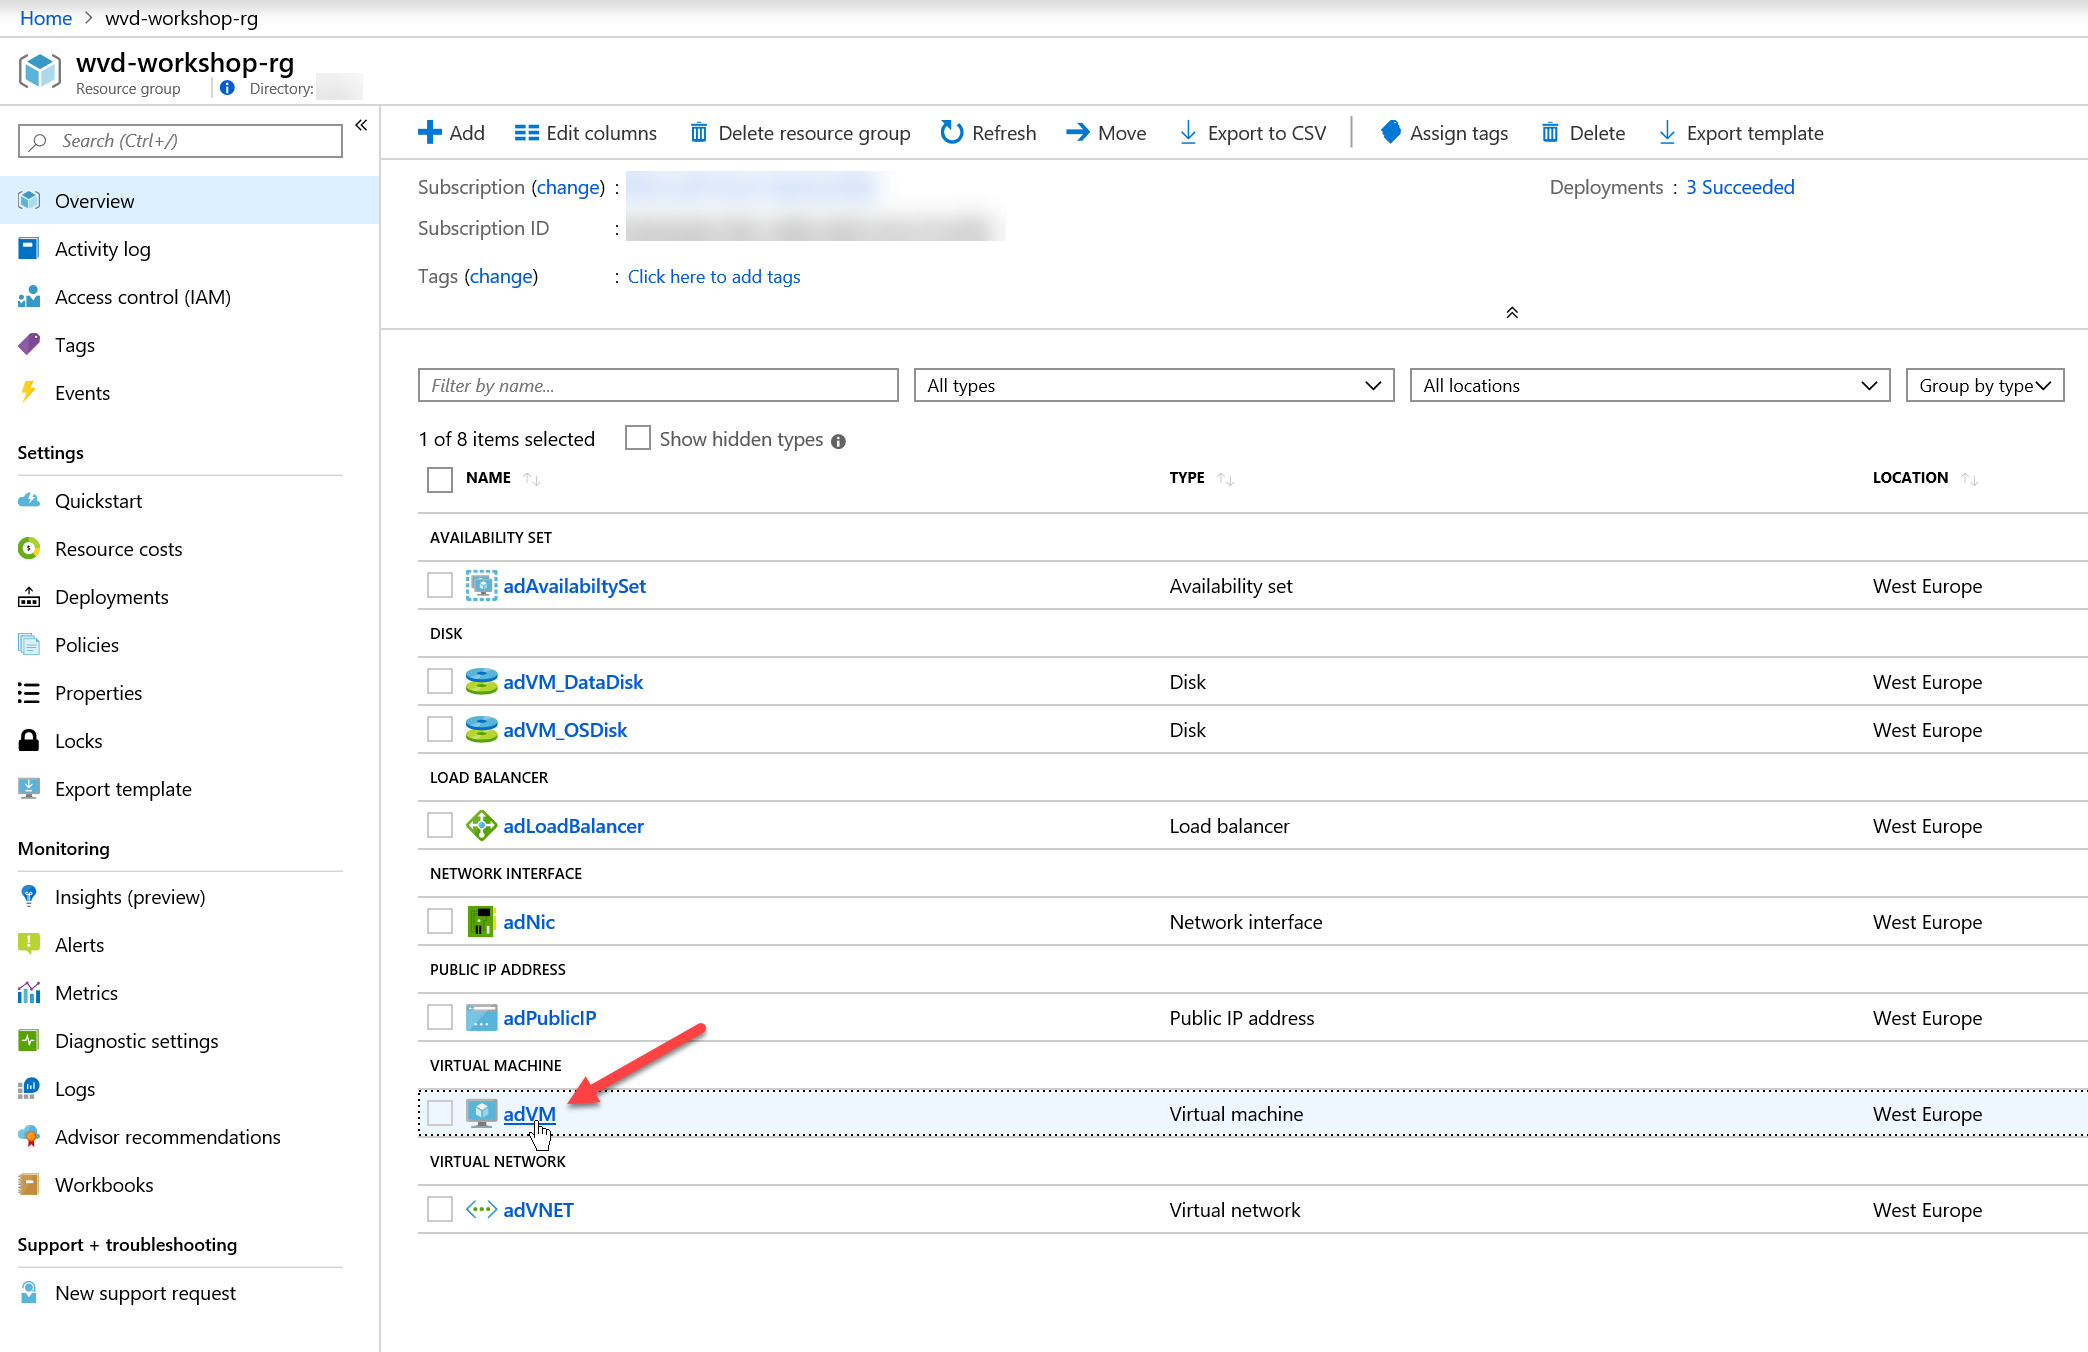
- Connect to the Azure VM using the Connect button, or by using the DNS name in MSTSC.EXE
In my example, this would bemstsc /v:wvdworkshopt01-dc01-vip.westeurope.cloudapp.azure.com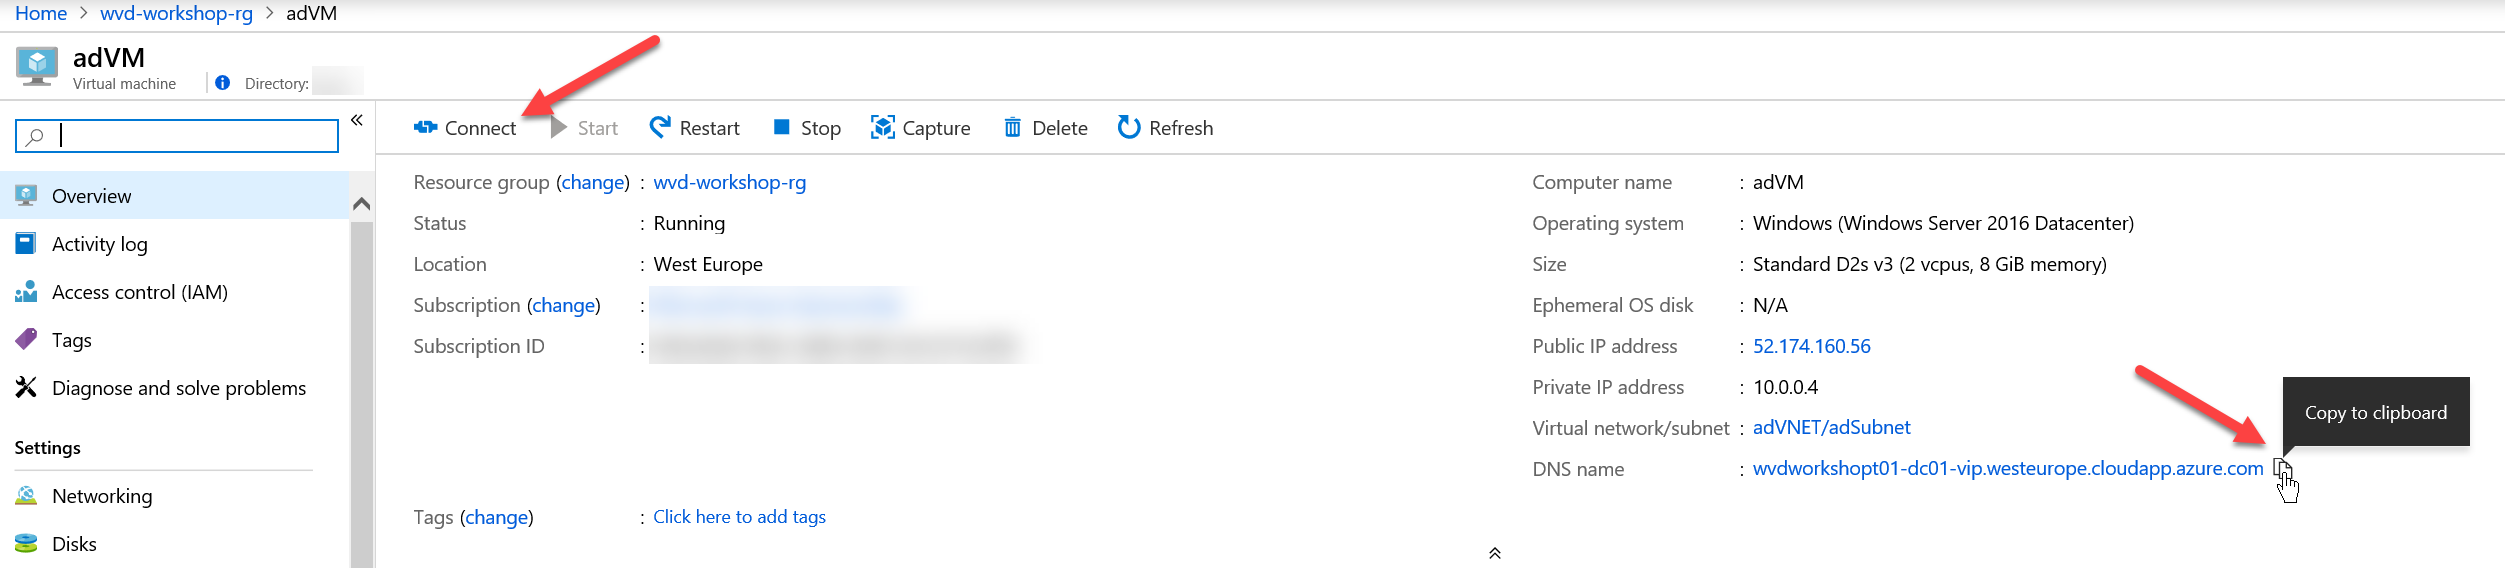
- Disable IE Enhanced Security Configuration
This wil make the download of AD Connect easier (and make your life a little easier 😉)
You can do this in the Server Manager, or by executing this Powershell script in a Elevated Powershell window:function Disable-IEESC { $AdminKey = "HKLM:\SOFTWARE\Microsoft\Active Setup\Installed Components\{A509B1A7-37EF-4b3f-8CFC-4F3A74704073}" Set-ItemProperty -Path $AdminKey -Name "IsInstalled" -Value 0 $UserKey = "HKLM:\SOFTWARE\Microsoft\Active Setup\Installed Components\{A509B1A8-37EF-4b3f-8CFC-4F3A74704073}" Set-ItemProperty -Path $UserKey -Name "IsInstalled" -Value 0 Stop-Process -Name Explorer Write-Host "IE Enhanced Security Configuration (ESC) has been disabled." -ForegroundColor Green } Disable-IEESC - Download AD Connect on the adVM and execute the installer
https://www.microsoft.com/en-us/download/confirmation.aspx?id=47594 -
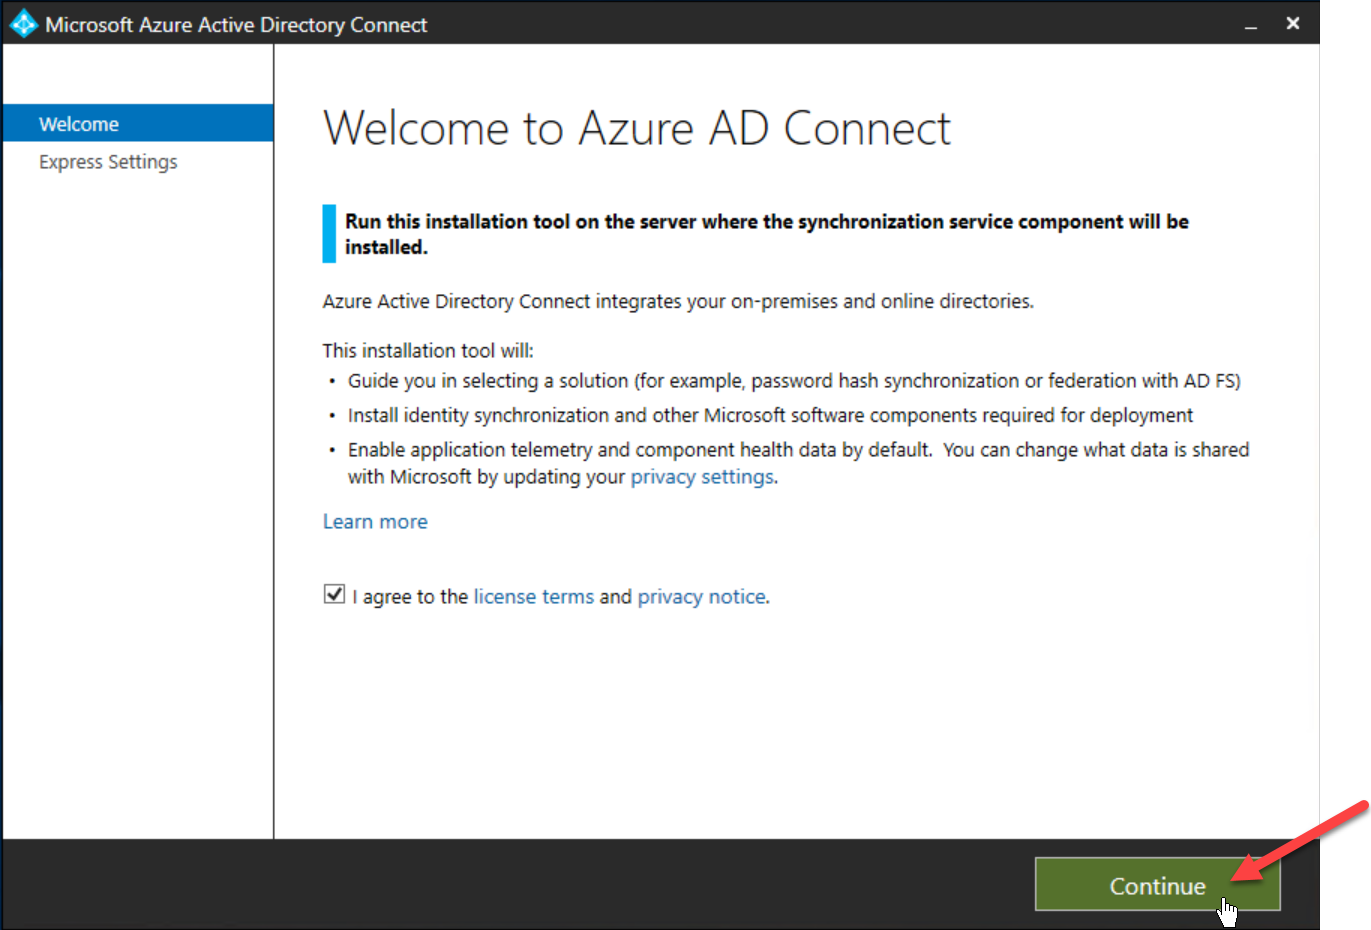
After the automatic installer, the Azure AD Connect wizard should start.
Check to agree with the License terms and click on Continue
-
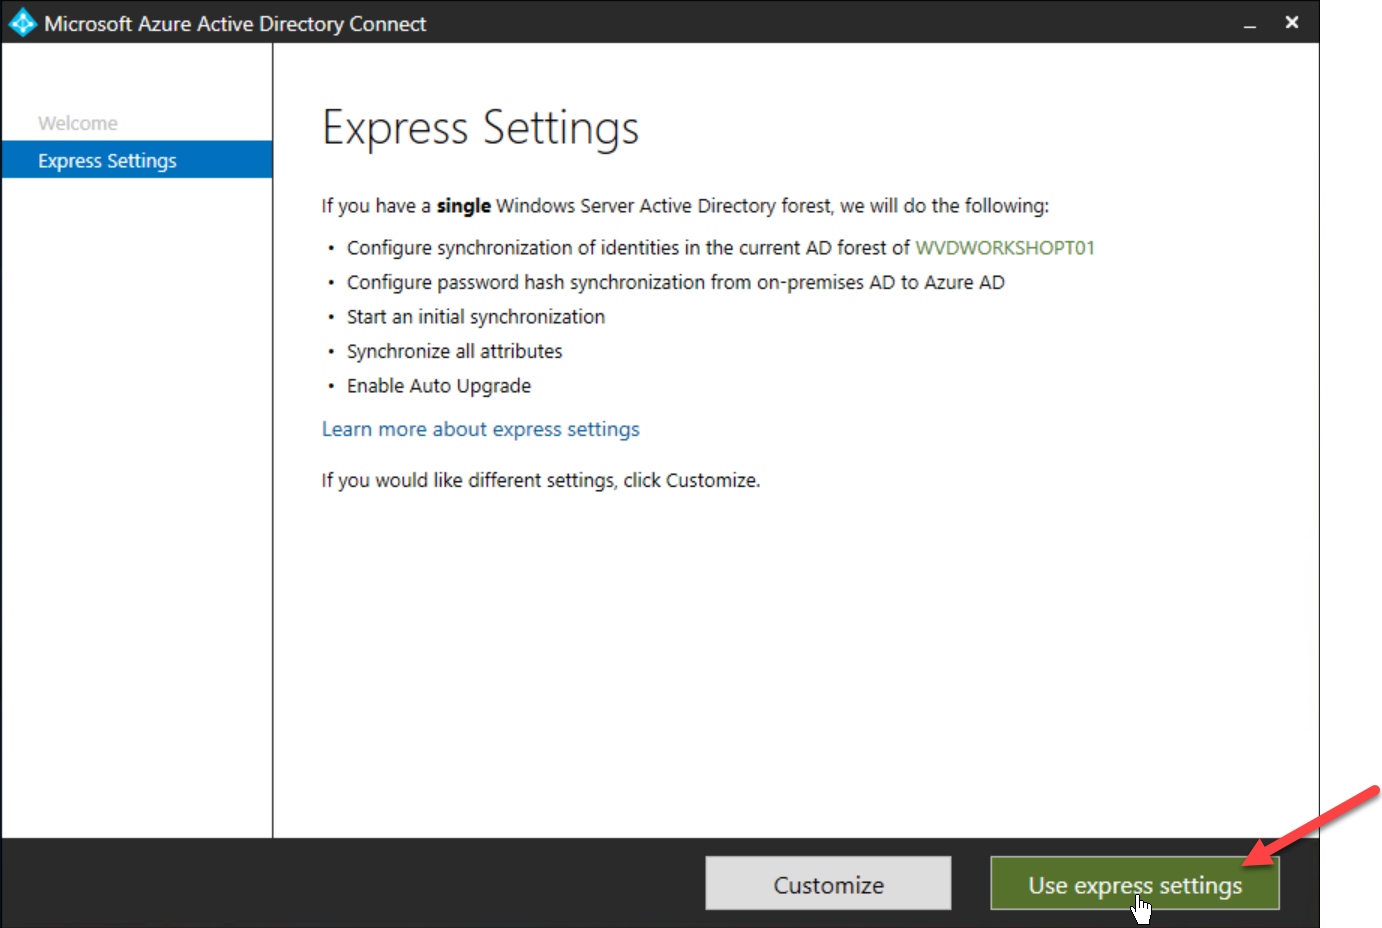
Because we will use a basic deployment, we can use the Express Settings
-
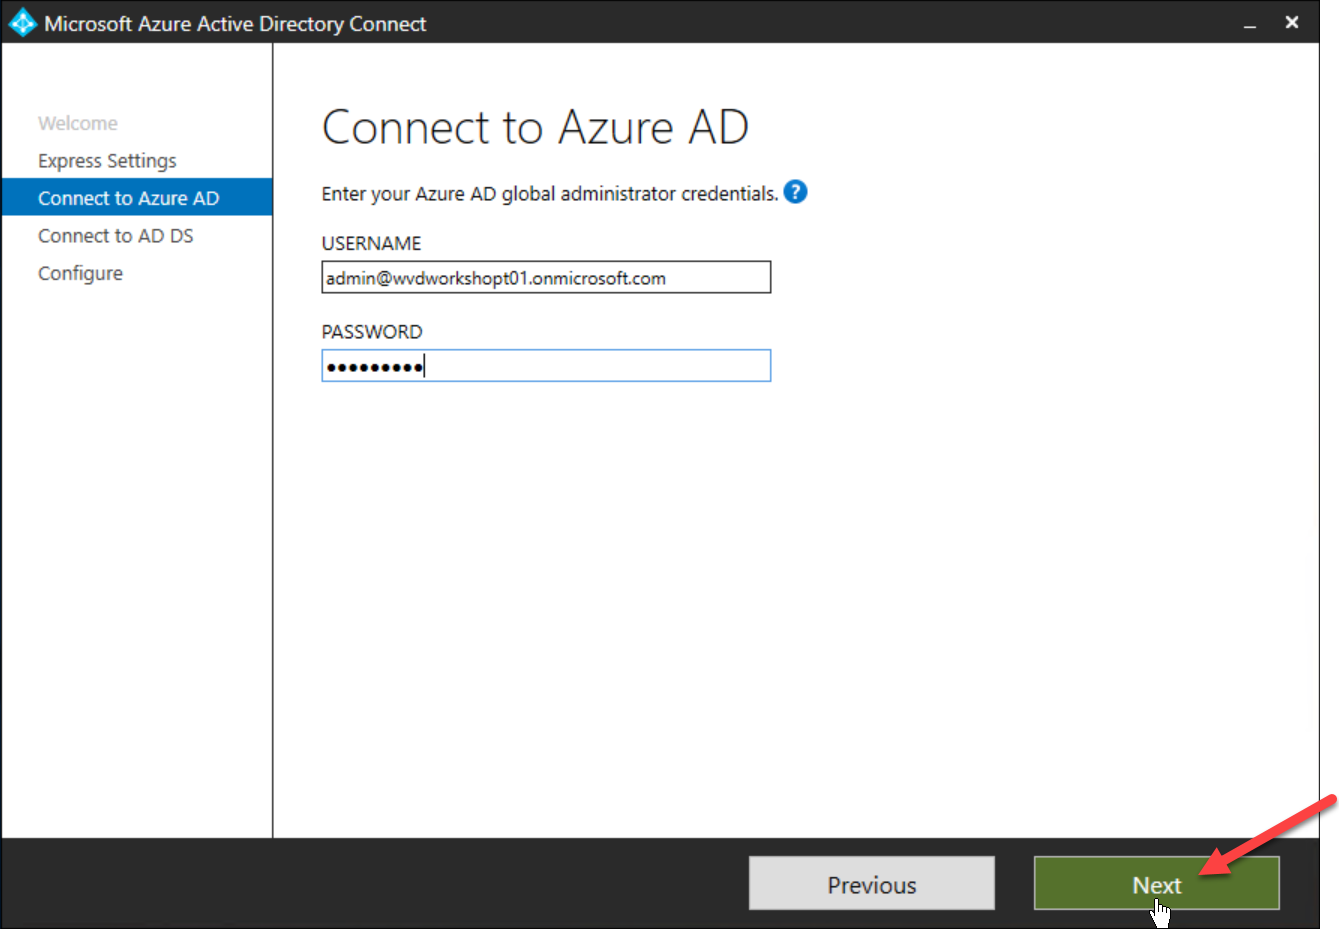
Enter your Azure AD Admin Account (admin@{tenant} for example) credentials and click on Next
-
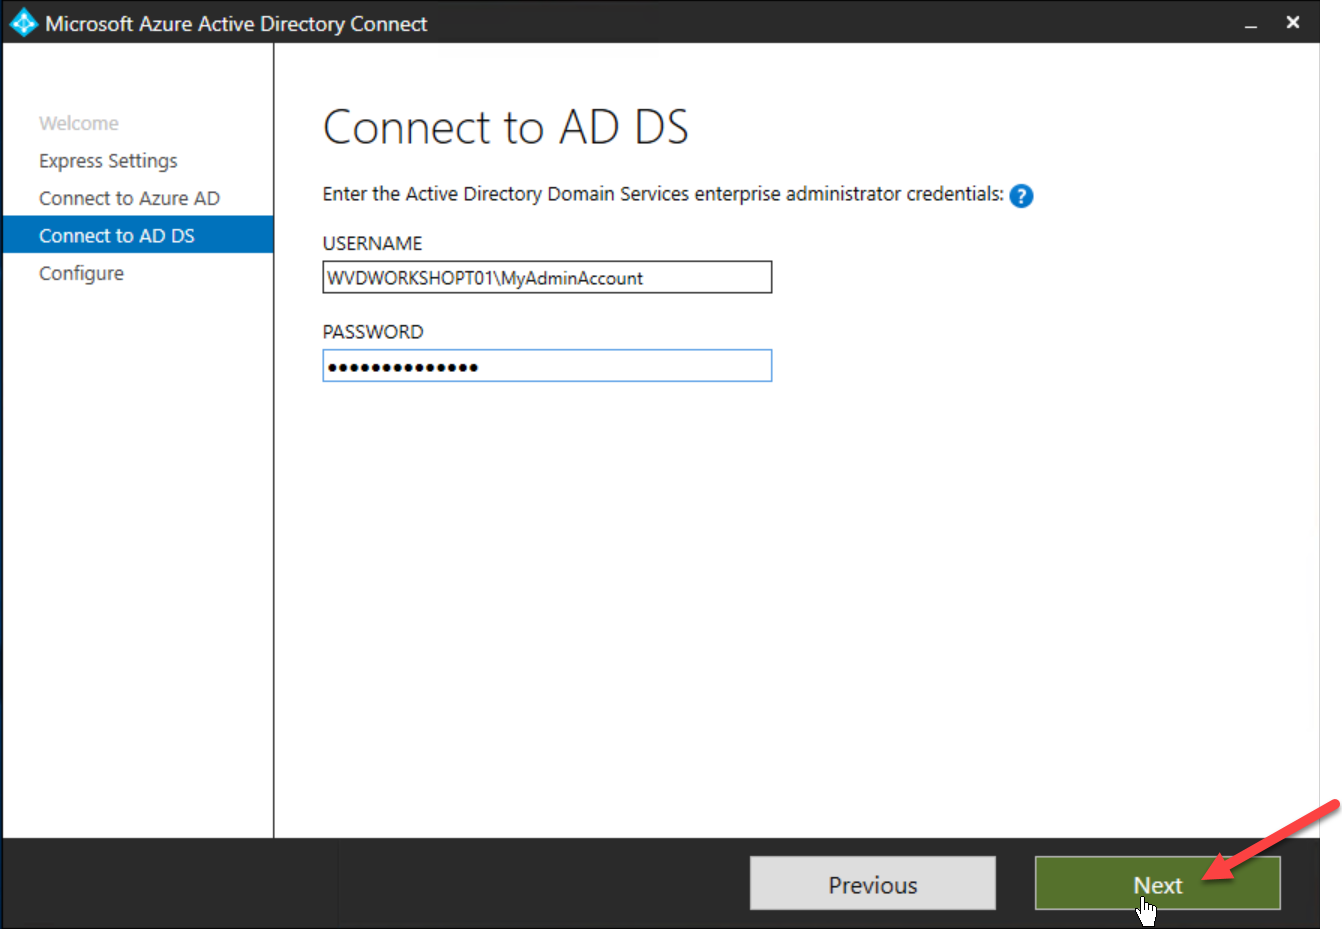
Enter your Windows AD Admin Account (Created using the ARM Template & used to connect to the adVM)
-
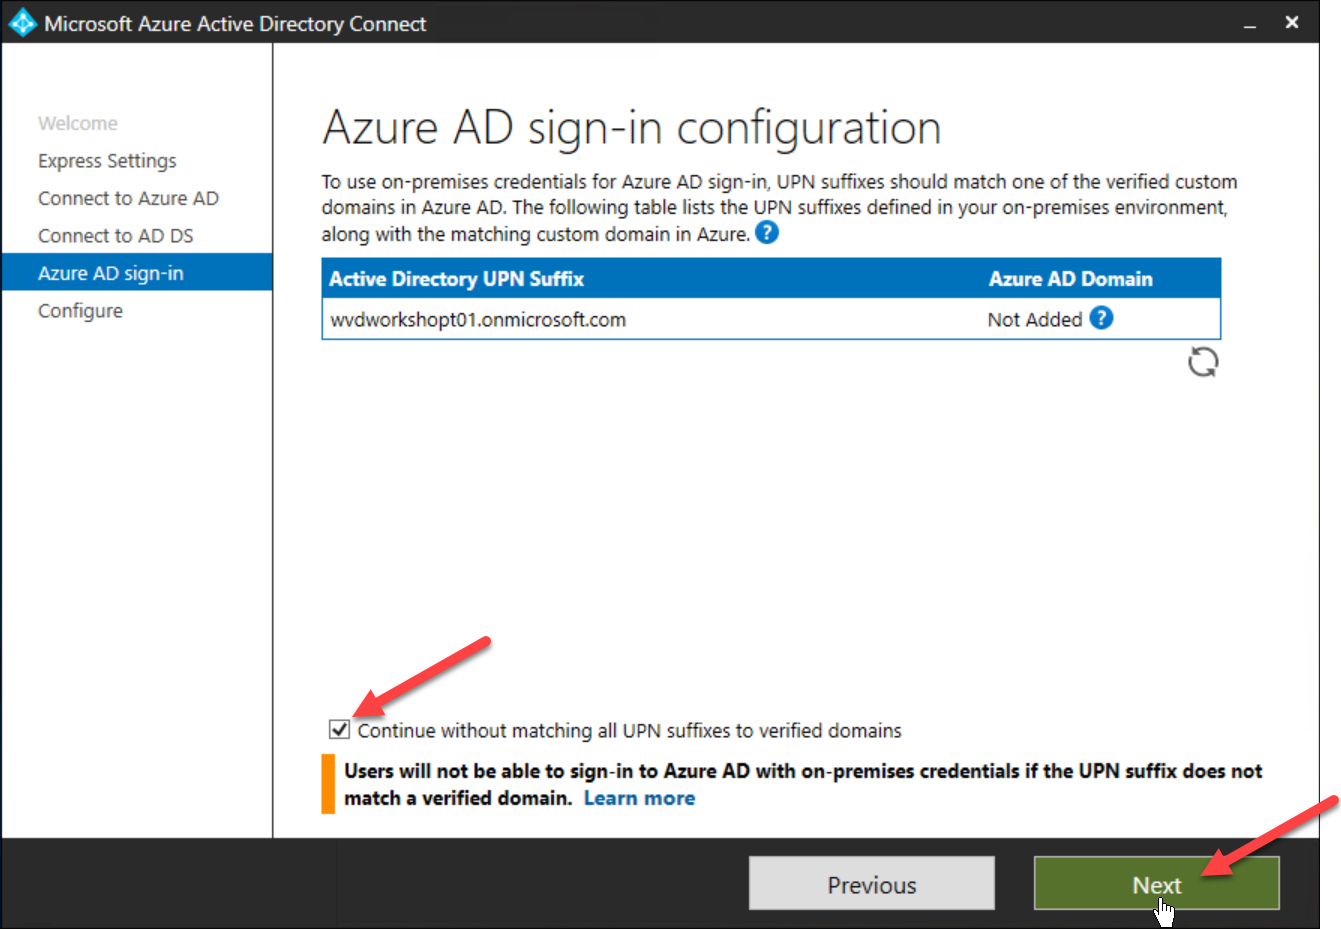
Again, for simplicity, we will use the .onmicrosoft.com suffix (not a custom domain).
Check Continue without matching all UPN suffixes to verified domains and click on Next
-
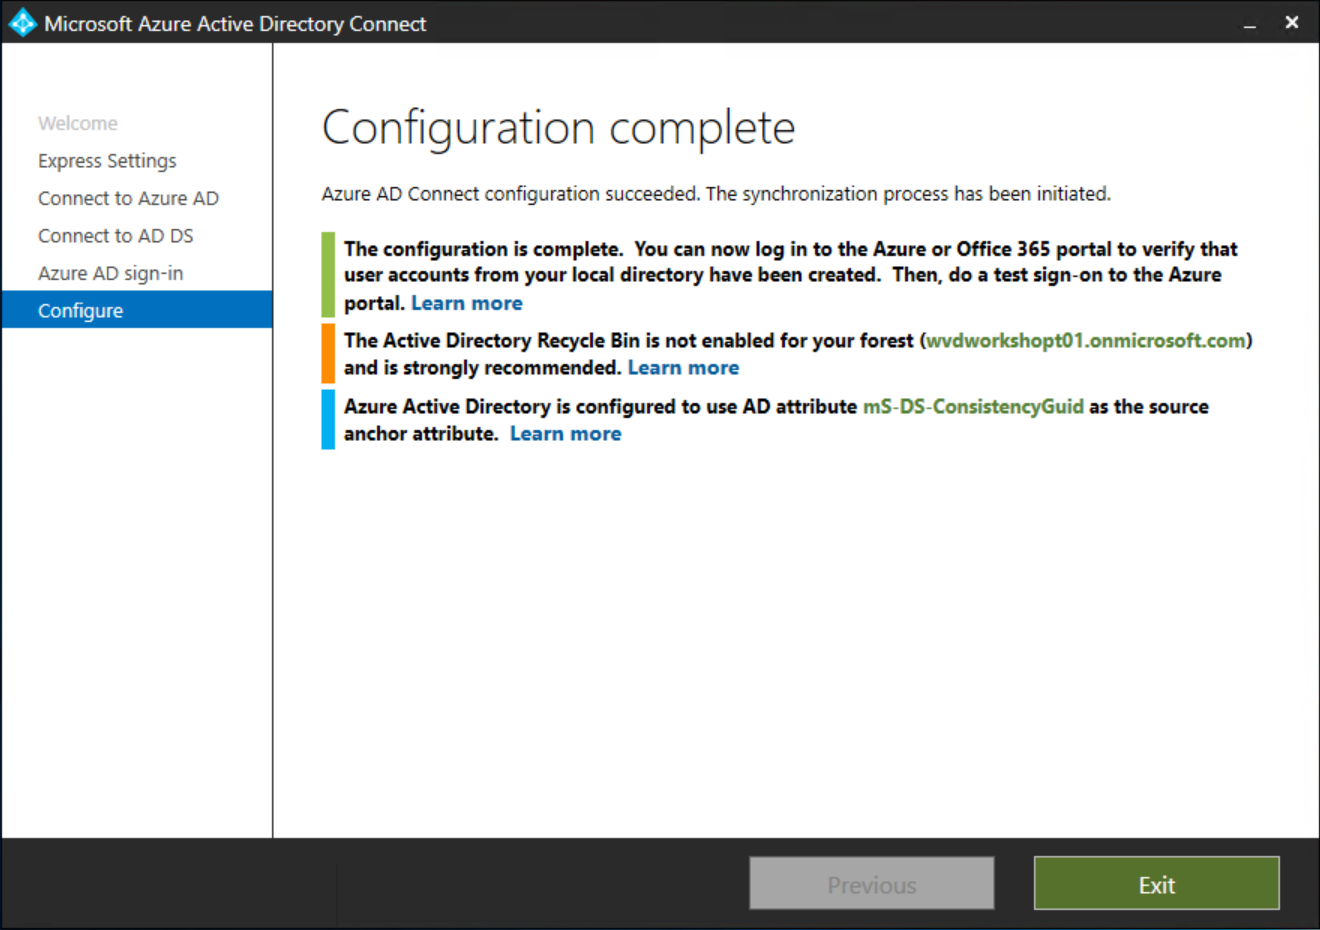
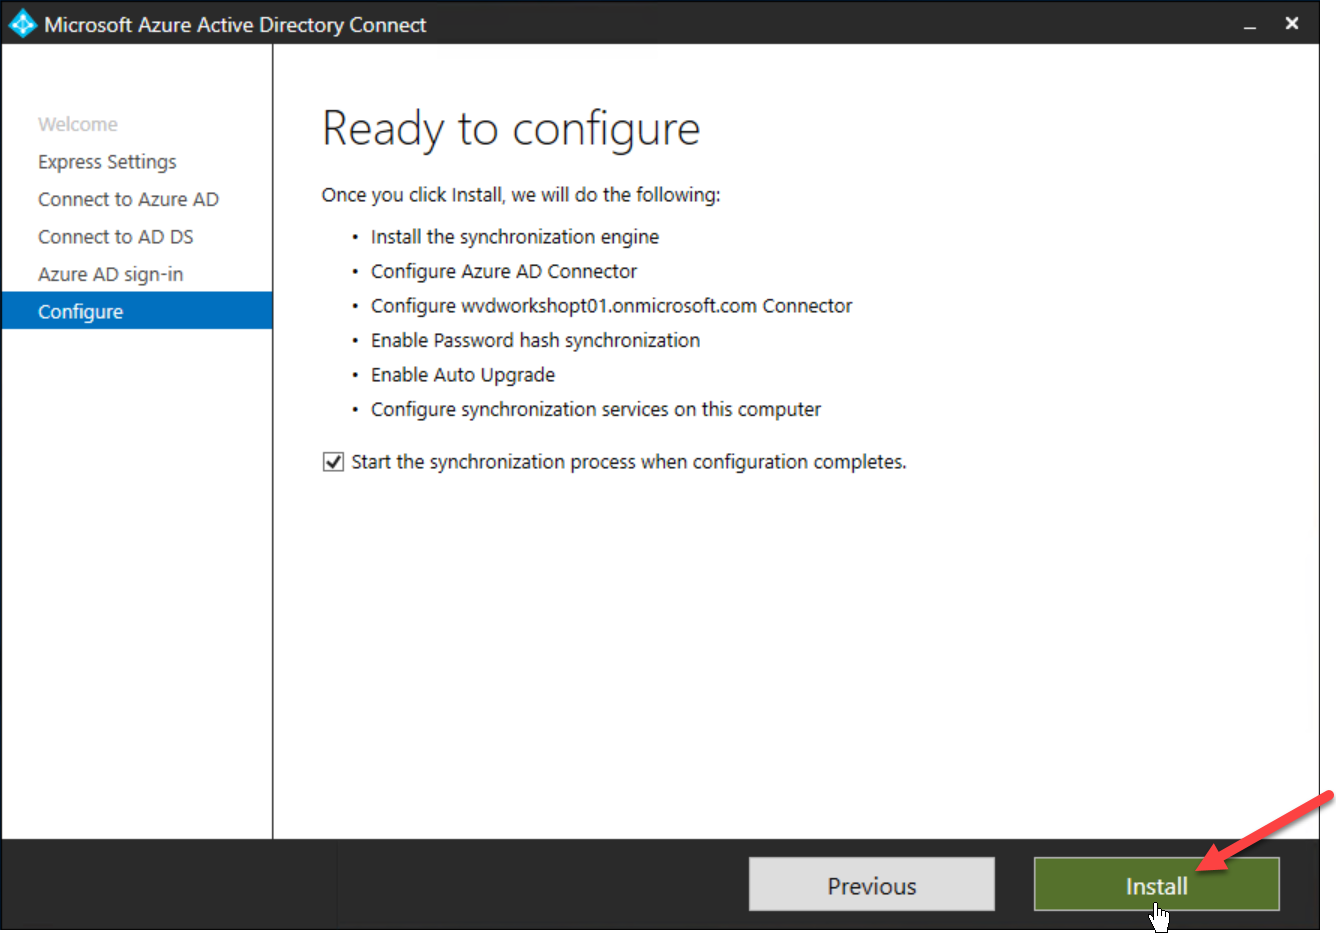
Click on Install to start the installation of the Sync Engine & configuration
- Click on Exit to finish the installation